
Homemade barista-level drinks, from a barista

All of these recipes are amazing for those of us stuck at home right now and missing good quality, barista level coffee. It’s good to support small coffee shops, but often the safest option is to stay at home, so do what you can and make some good coffee in the meantime!

Max Ablicki grew up around coffee culture and has worked in coffee shops for several years, first at Esselon Coffee Roasting in Hadley, MA, and then as a barista for Elements: Books Coffee Beer, in Biddeford ME. Max Ablicki is also a freelance photographer, artist, and avid outdoors enthusiast with interests in mindfulness, cooking, and design. Instagram: @ablicki. Site: ablicki.com
These coffee recipes are in the recommended order of simplest to most complicated. All of these recipes call for coffee to be within a medium-fine to medium-coarse grind. While technically pour-over and Chemex have slightly different grind preferences, for simplicity and with the home-brewer in mind, I’ve brewed these recipes with the same grind setting, which I’ve ‘averaged’ as a medium grind setting - this setting is often compared to the consistency of ground sea salt. This will produce a great, full-bodied cup of coffee with a grind setting that is easy to achieve at home, and 99% of people cannot taste the difference between the grind settings while brewing from home.
I recommend using freshly-roasted whole bean coffee and grinding it at home, however, pre-ground coffee will also work. If you don’t have a coffee grinder but want freshly roasted coffee, try asking a barista at your favorite shop to grind a bag to the proper consistency, (in this case, a medium grind for pour-over/Chemex) they’ll know (or at least they should know!) exactly what to give you. I used my hand-grinder, which is a good travel grinder, and gives a good grind but is very energy and time-intensive. I’d recommend an electric burr grinder or an electric blade grinder for the average home-brewer.

Coffee grind
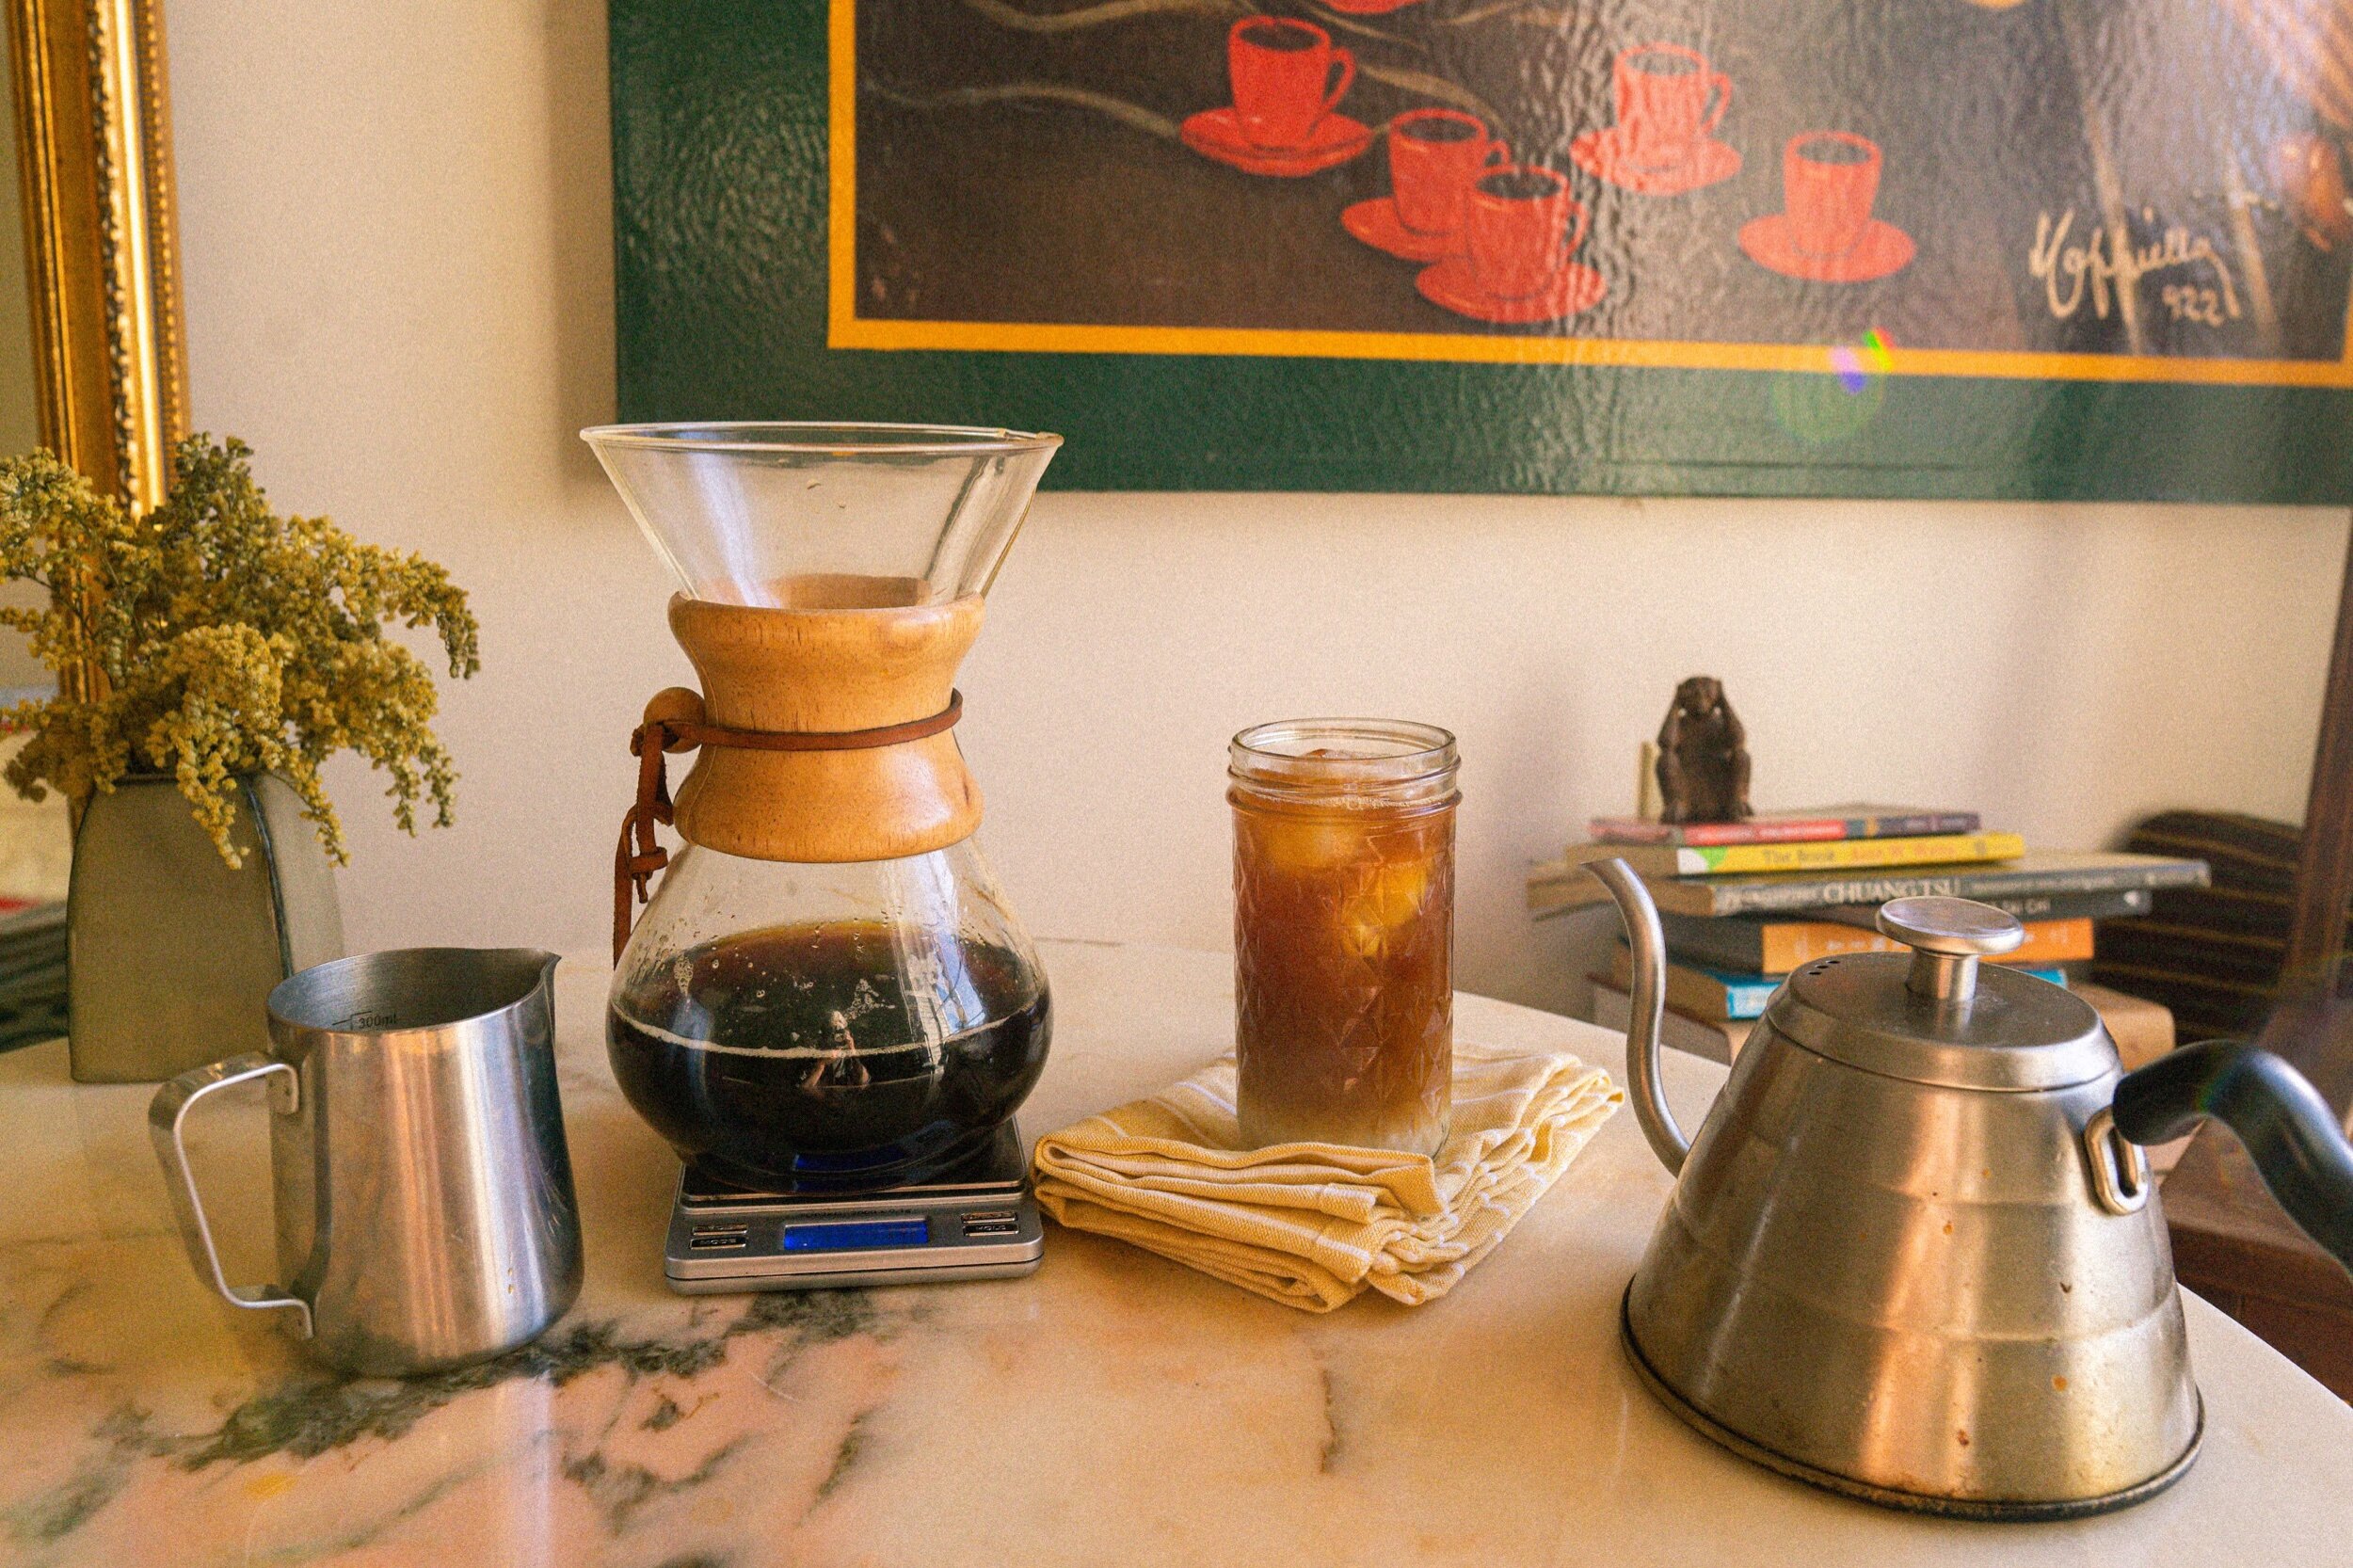
I used a gooseneck kettle for this photo series, which will give the most controlled pour and even flow of water, but any type of kettle will work (I’ve even used pans before...as long as you can boil the water and safely pour it). I’ve attached links to all of my coffee brewing stuff, but people will still get a good cup using any gear they have so long as they follow the recipes and have fairly accurate measurements and gentle pours.
Lastly, I used a small kitchen-scale for these recipes. Any kitchen scale will do so long as it has a tare/zero function and grams for unit of measurement.
Recipes.
Pour-Over
The pour-over is one of the most traditional and most simple forms of brewing coffee, and produces a great cup of coffee. The pour-over utilizes gravity to pull the water through the grounds - leaving it to interact with the grounds for only a few seconds before dripping into the cup. Brewing a pour-over gives the brewer more control over how the coffee is extracted and more control over the resulting flavors in the cup. The pour-over is also a small and easy coffee-maker to travel with. I spent five months living abroad in Morocco, and my pour-over was one of the first things to go in my suitcase - and a choice method of coffee while traveling in Spain, across other cities in Morocco, or even just on simple hiking and camping trips back home. There are very few downsides to the pour-over method, other than the small-yield, which makes brewing for more than two people a bit difficult and time-consuming.
Materials
Coffee Grinder (see above recommendations)
Process
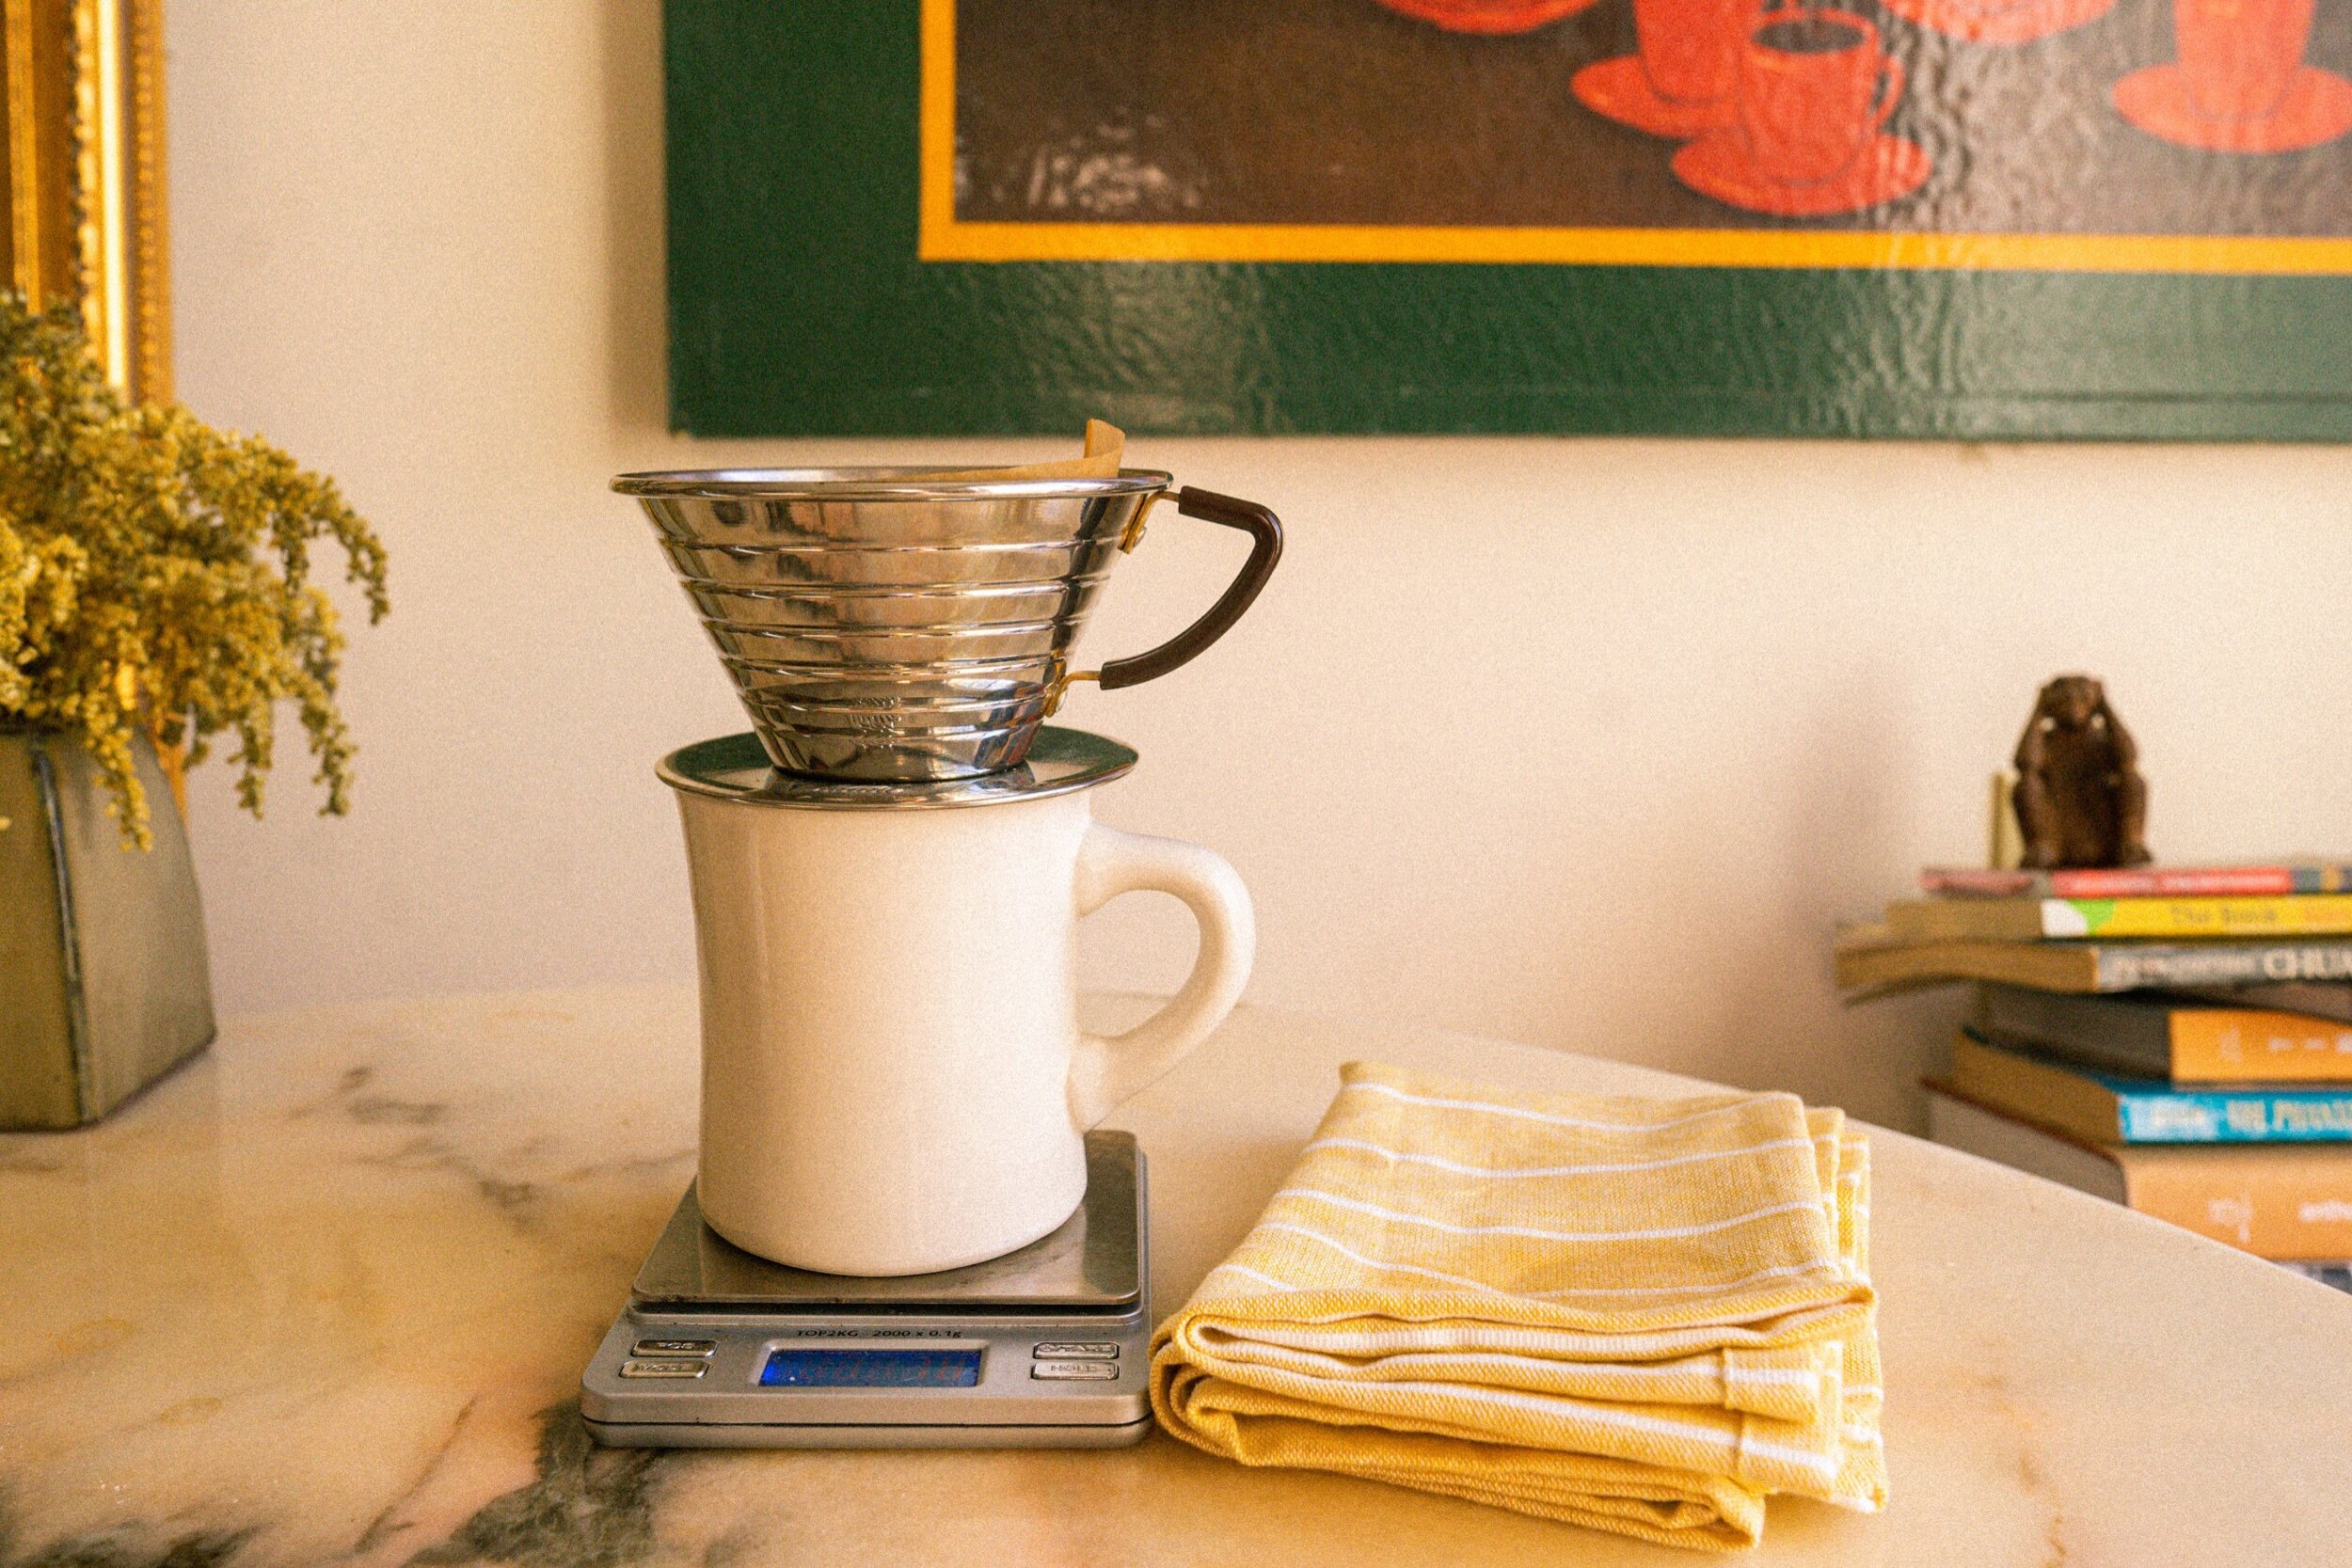
Place pour-over on top of a coffee cup, and place a paper filter inside the pour-over.
Measure and/or grind coffee at a medium grind consistency. Generally, it’s a 1:17 coffee-water ratio for measurement (grams) (see below)
An 8oz cup holds ~225g of water so: ~13g of coffee
A 12oz cup holds ~340g of water so: ~ 20g of coffee
A 16oz cup holds ~455g of water so ~ 27g of coffee
If you have an irregular mug, see below*
Bring a kettle of water up to a boil, remove it from the heat and allow it to sit for about 30 seconds to cool to the proper temperature.
Pour a dash of hot water into the filter to pre-wet the filter, this will remove excess dust and help to reduce any unwanted flavors. Dump the water out of the cup.
Place the coffee grounds into the filter, and shake them to create a reasonably level surface. This is called the bed.
Place the pour-over and cup on the scale, and zero the weight (grams).
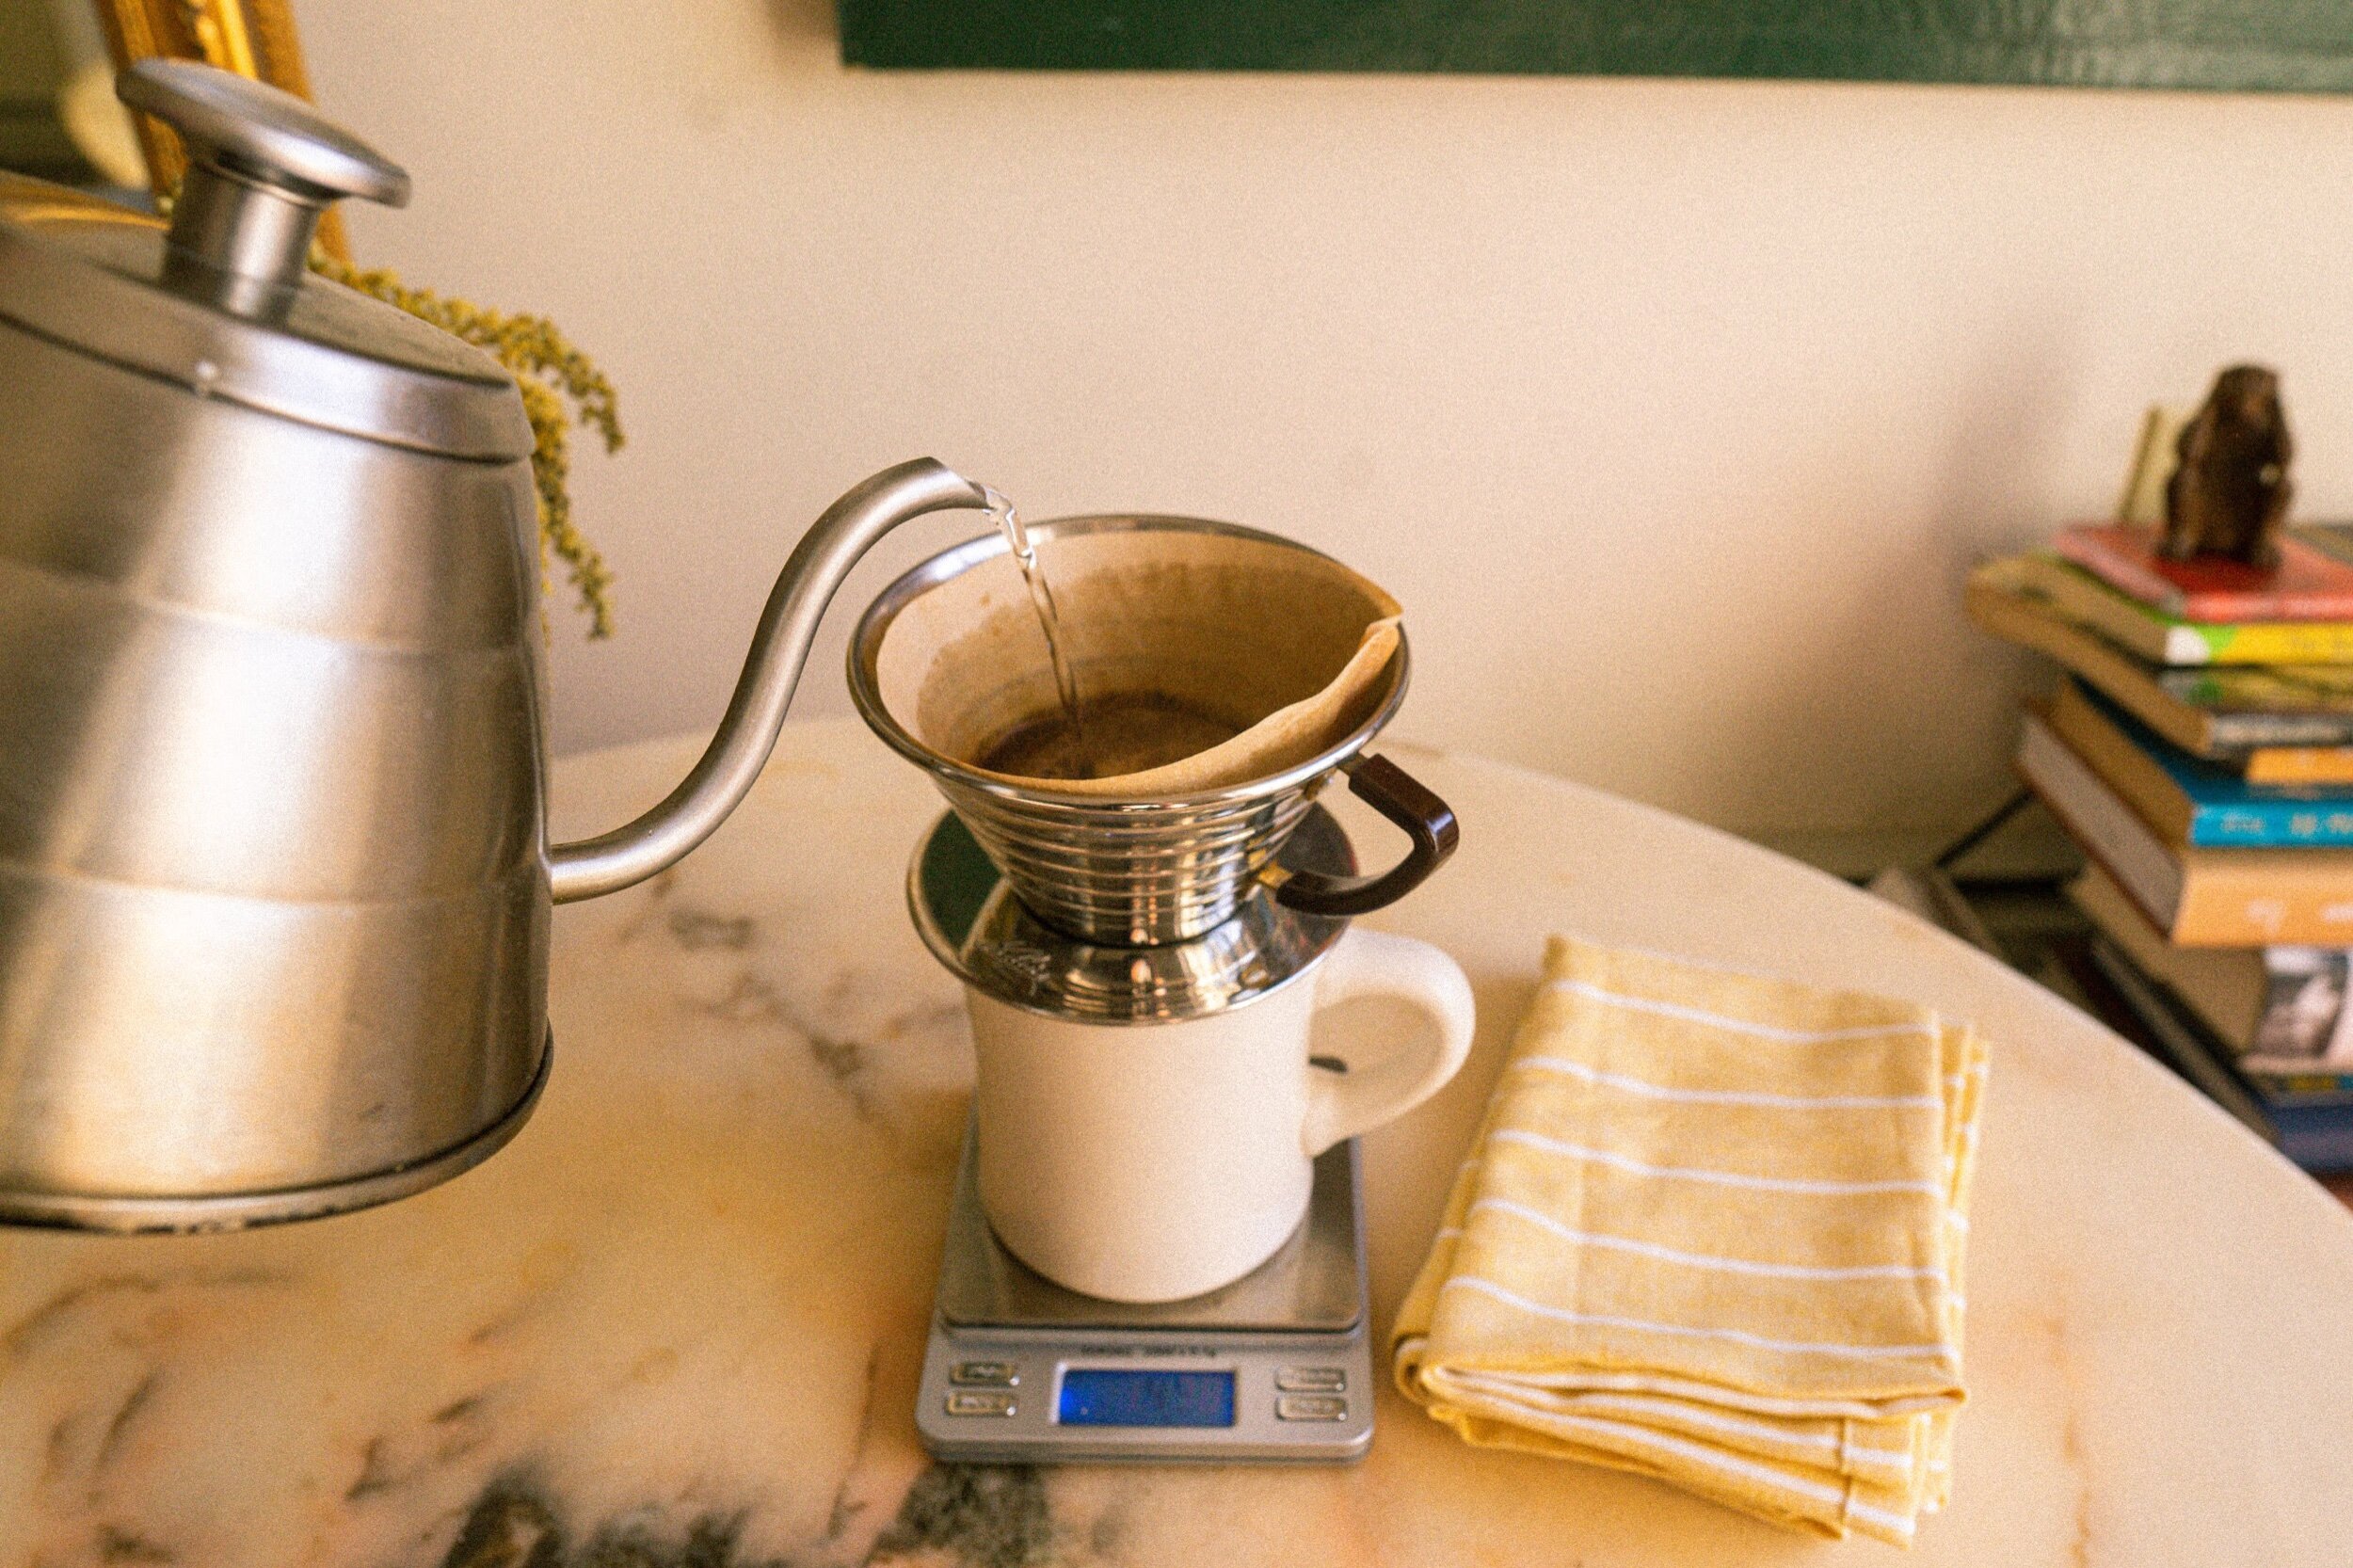
Begin gently-pouring the hot water over the bed of grounds.
Start in the center, gently soaking all the grounds while avoiding the paper walls.
Once evenly soaked, allow coffee to sit and ‘bloom’ for ~15 seconds: With fresh coffee, you will see a mushroom-like growth: this is carbon dioxide and other gasses being released from the grounds.
Continue with a gentle, even pour, soaking the grounds in a spiral/circular motion. Pour for a few seconds, then allow it to drip for a few seconds, and then pour again.
Repeat the process of pour/drip until you reach the desired weight of water.
8oz cup - 225g of water
12oz cup - 340g of water
16oz cup - 455g of water
The whole process should take between 2 and 4 minutes. Fast pours (nearer to the 2-minute mark) will be lighter, while a slower pour (near 3 to 4 minutes) will be more flavorful. Aim for 3 minutes for a good balance of flavors.
Once the desired weight is achieved, allow for all of the water to fully drip through, then discard the used filter and enjoy!
*If your cup is not a standard size, to find your 1:17 ratio simply place your empty cup on your kitchen scale and zero the weight (g). Fill the cup with water, and record the weight (g). This is how much water you will need. To find the amount of coffee, take the weight of your water, and divide it by 17. This will give you the approx. weight(g) of coffee, and therefore, your approx. 1:17 ratio. Use these two numbers to brew your pour-over.
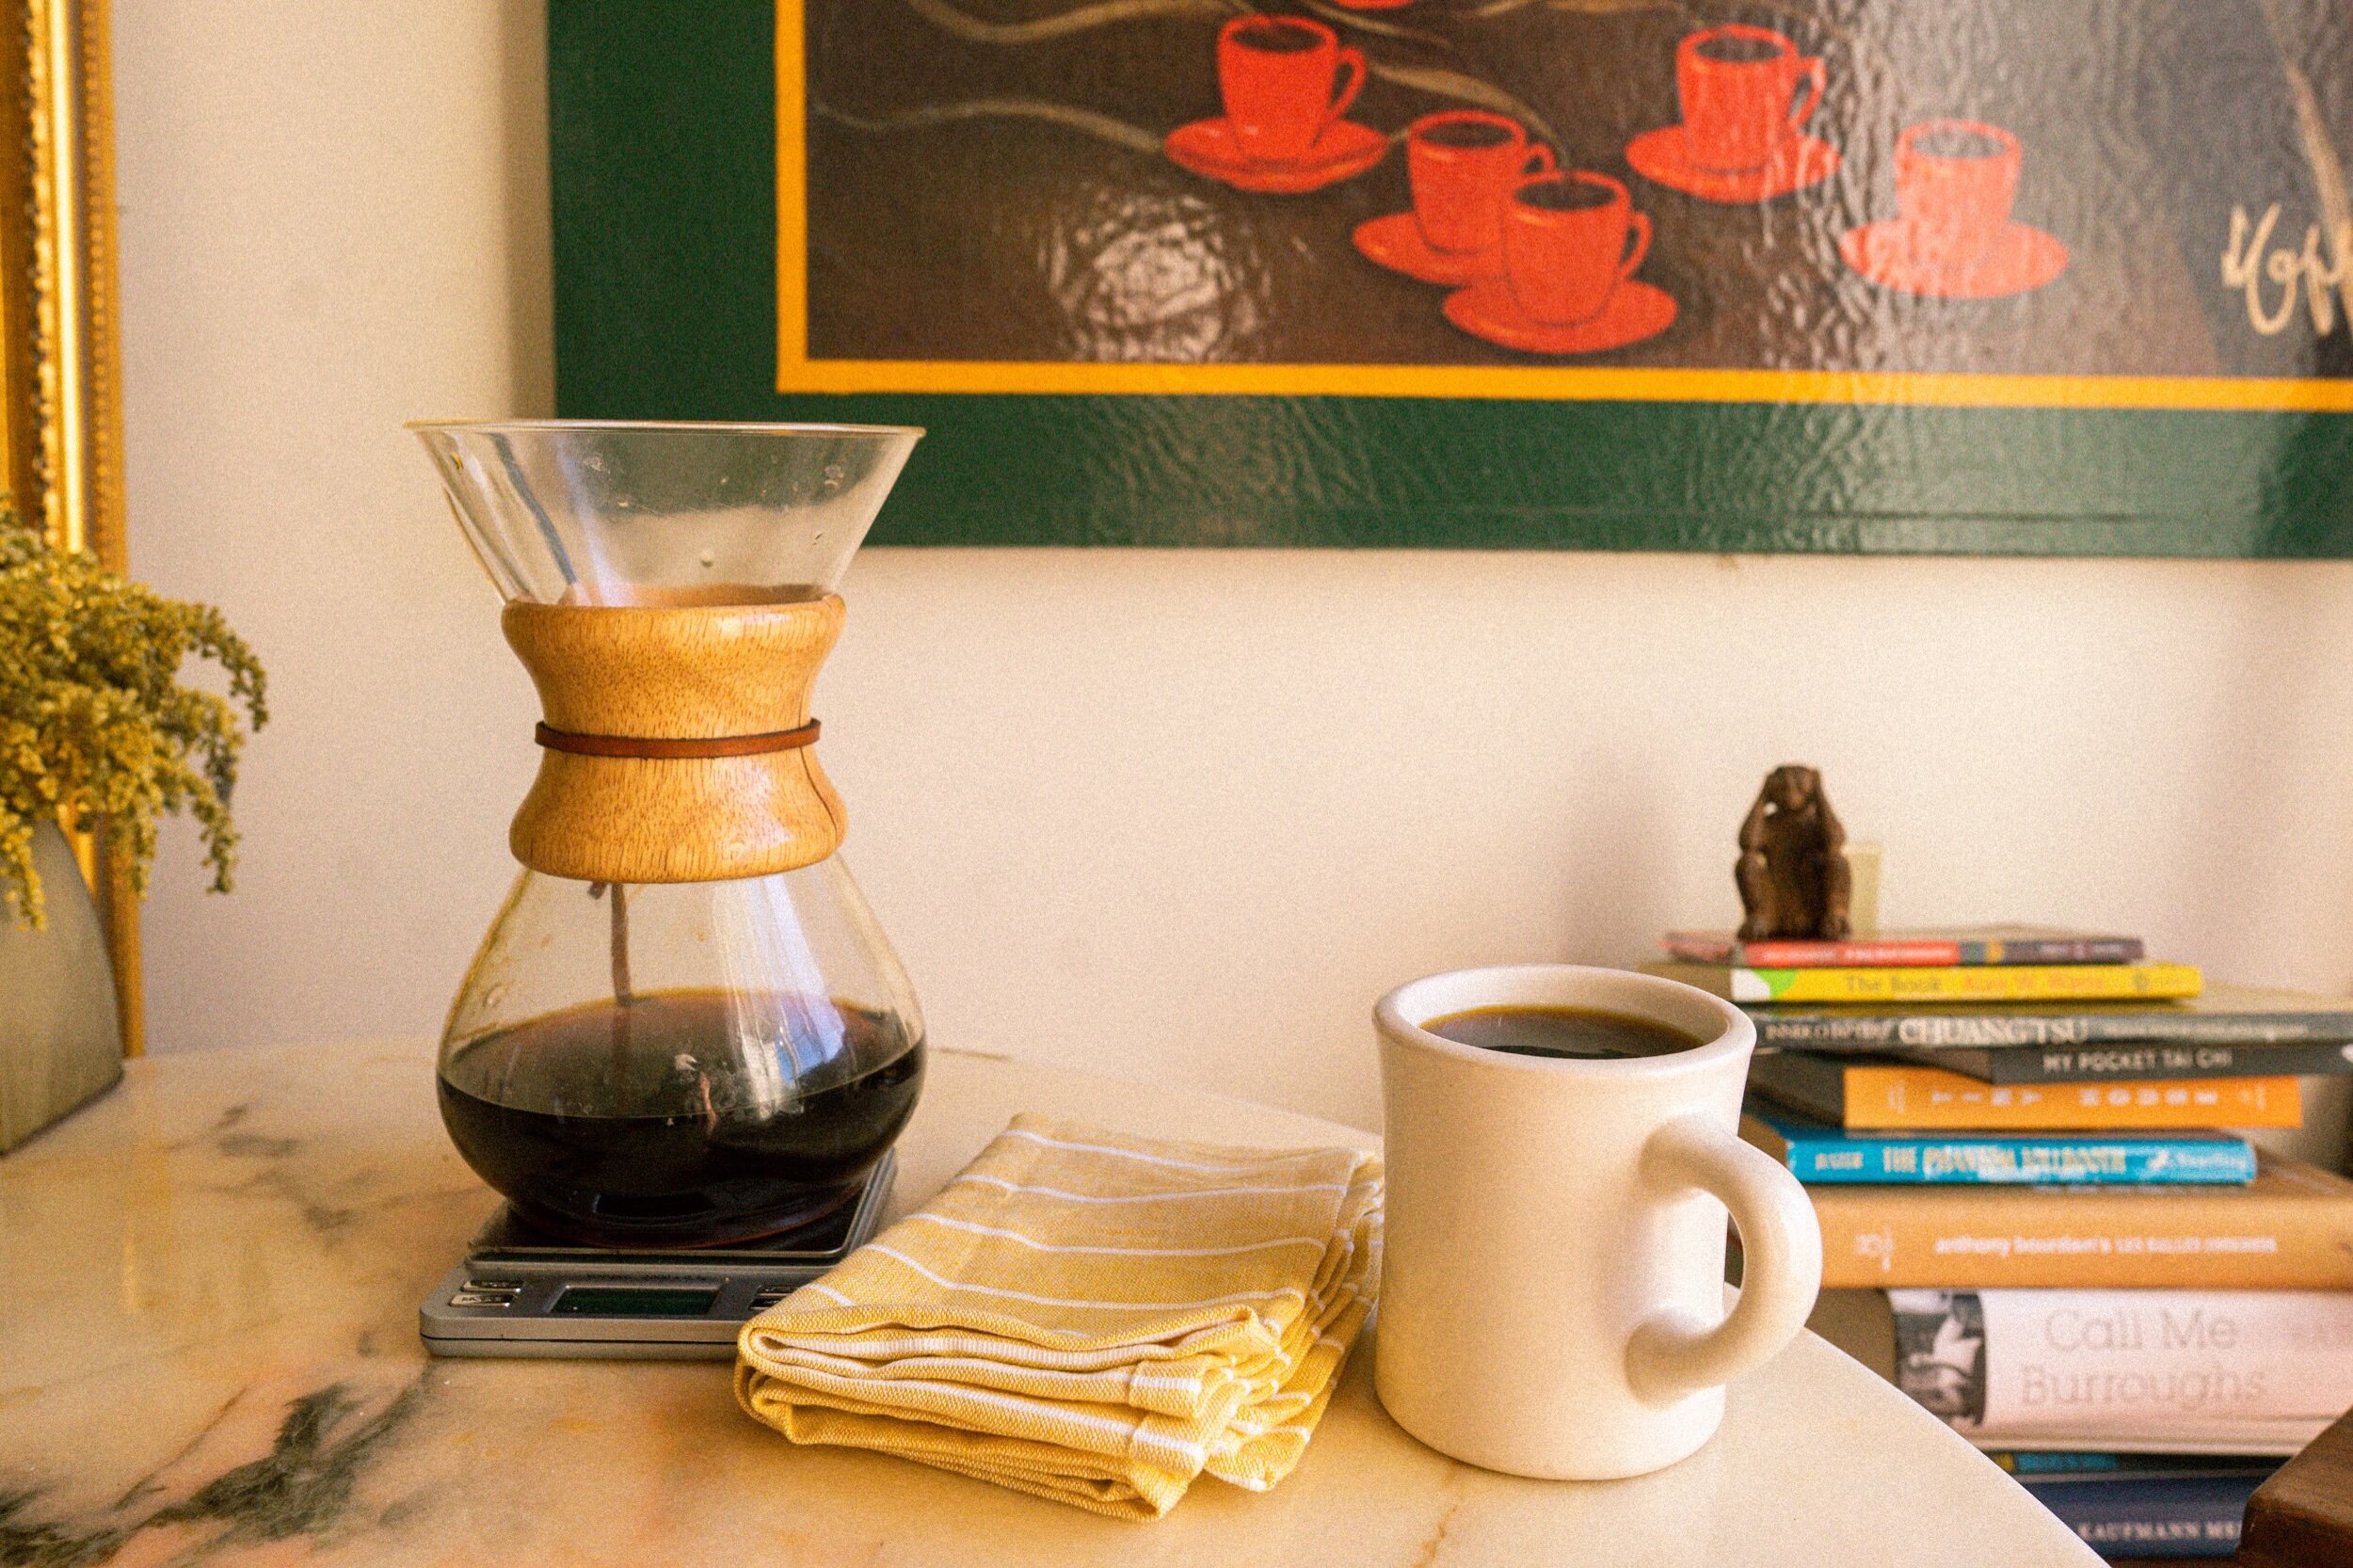
Chemex
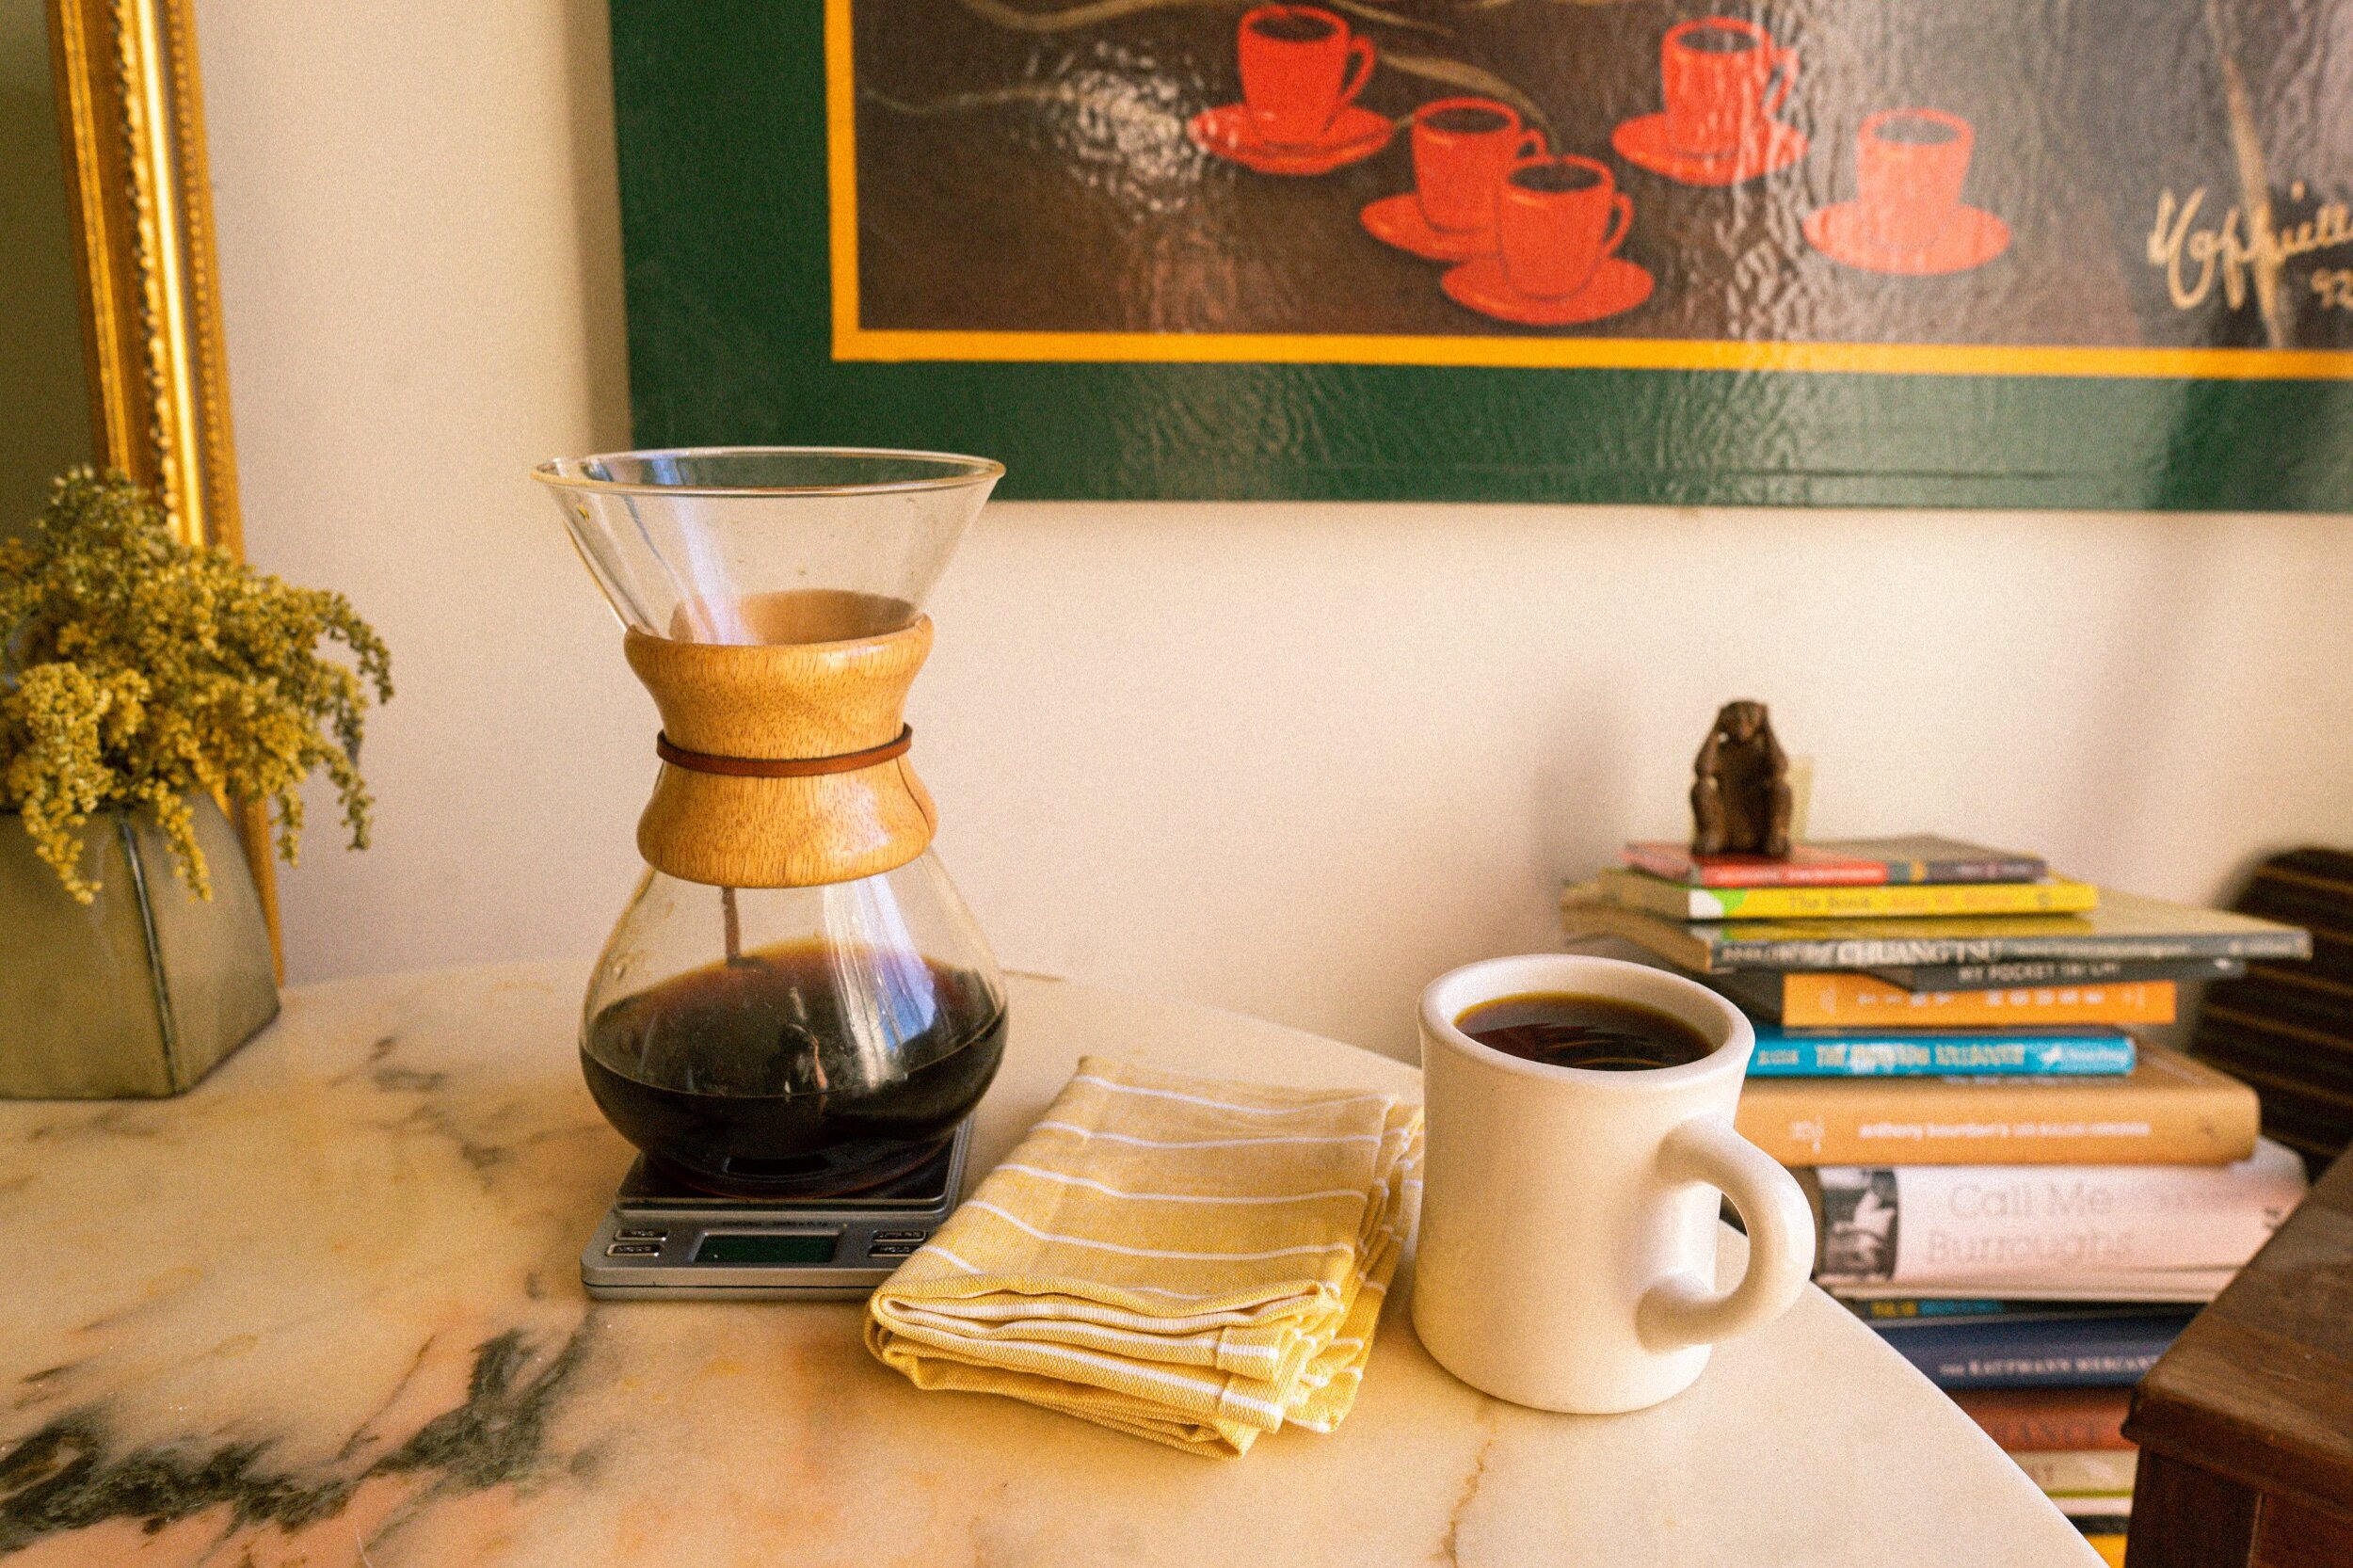
“What is that thing?” is a phrase you’ll hear many times while brewing with the Chemex - but then there are those who are in-the-know: and they’ll be knocking on your door for a cup of coffee. The Chemex is yet another classic staple of coffee-brewing, and its timeless design will look great on any countertop or coffee table - it’ll start conversations, and so will it’s coffee. The Chemex is very similar to a pour-over and is brewed almost the same, but it’s heavier filter helps to refine flavor even more than in a pour-over, and has the capacity to brew several cups at a time. The Chemex is my chosen method for day to day brewing at home, especially if I’ve got company or I’m planning on drinking more than one cup (which is 90% of the time). The only downsides for the Chemex are that it’s delicate and a little tough to clean because it’s impossible to reach down inside of it without a brush or baby-sized hands.
Materials
Gooseneck Kettle
Coffee Grinder
Scale


Process
Measure and/or grind 42g of coffee with a medium grind consistency. This will brew 2-4 cups depending on their size. If you’d like a smaller batch (1-2 cups), use 21g of coffee.
Open and place a Chemex filter in the top of the Chemex, keeping the side with extra layers over the spout-side of the Chemex.
Bring a full kettle of water up to a boil, remove it from the heat and allow it to sit for about 30 seconds to cool to the proper temperature.
Pour a dash of hot water into the filter to pre-wet the filter, this will remove excess dust and help to reduce any unwanted flavors. Dump the water out of the Chemex.
Place the coffee grounds into the filter, and shake them to create a reasonably level surface.
Place the Chemex on the scale, and zero the weight (grams).
Begin gently-pouring the hot water over the grounds.
Start in the center, gently soaking all the grounds while avoiding the paper walls.
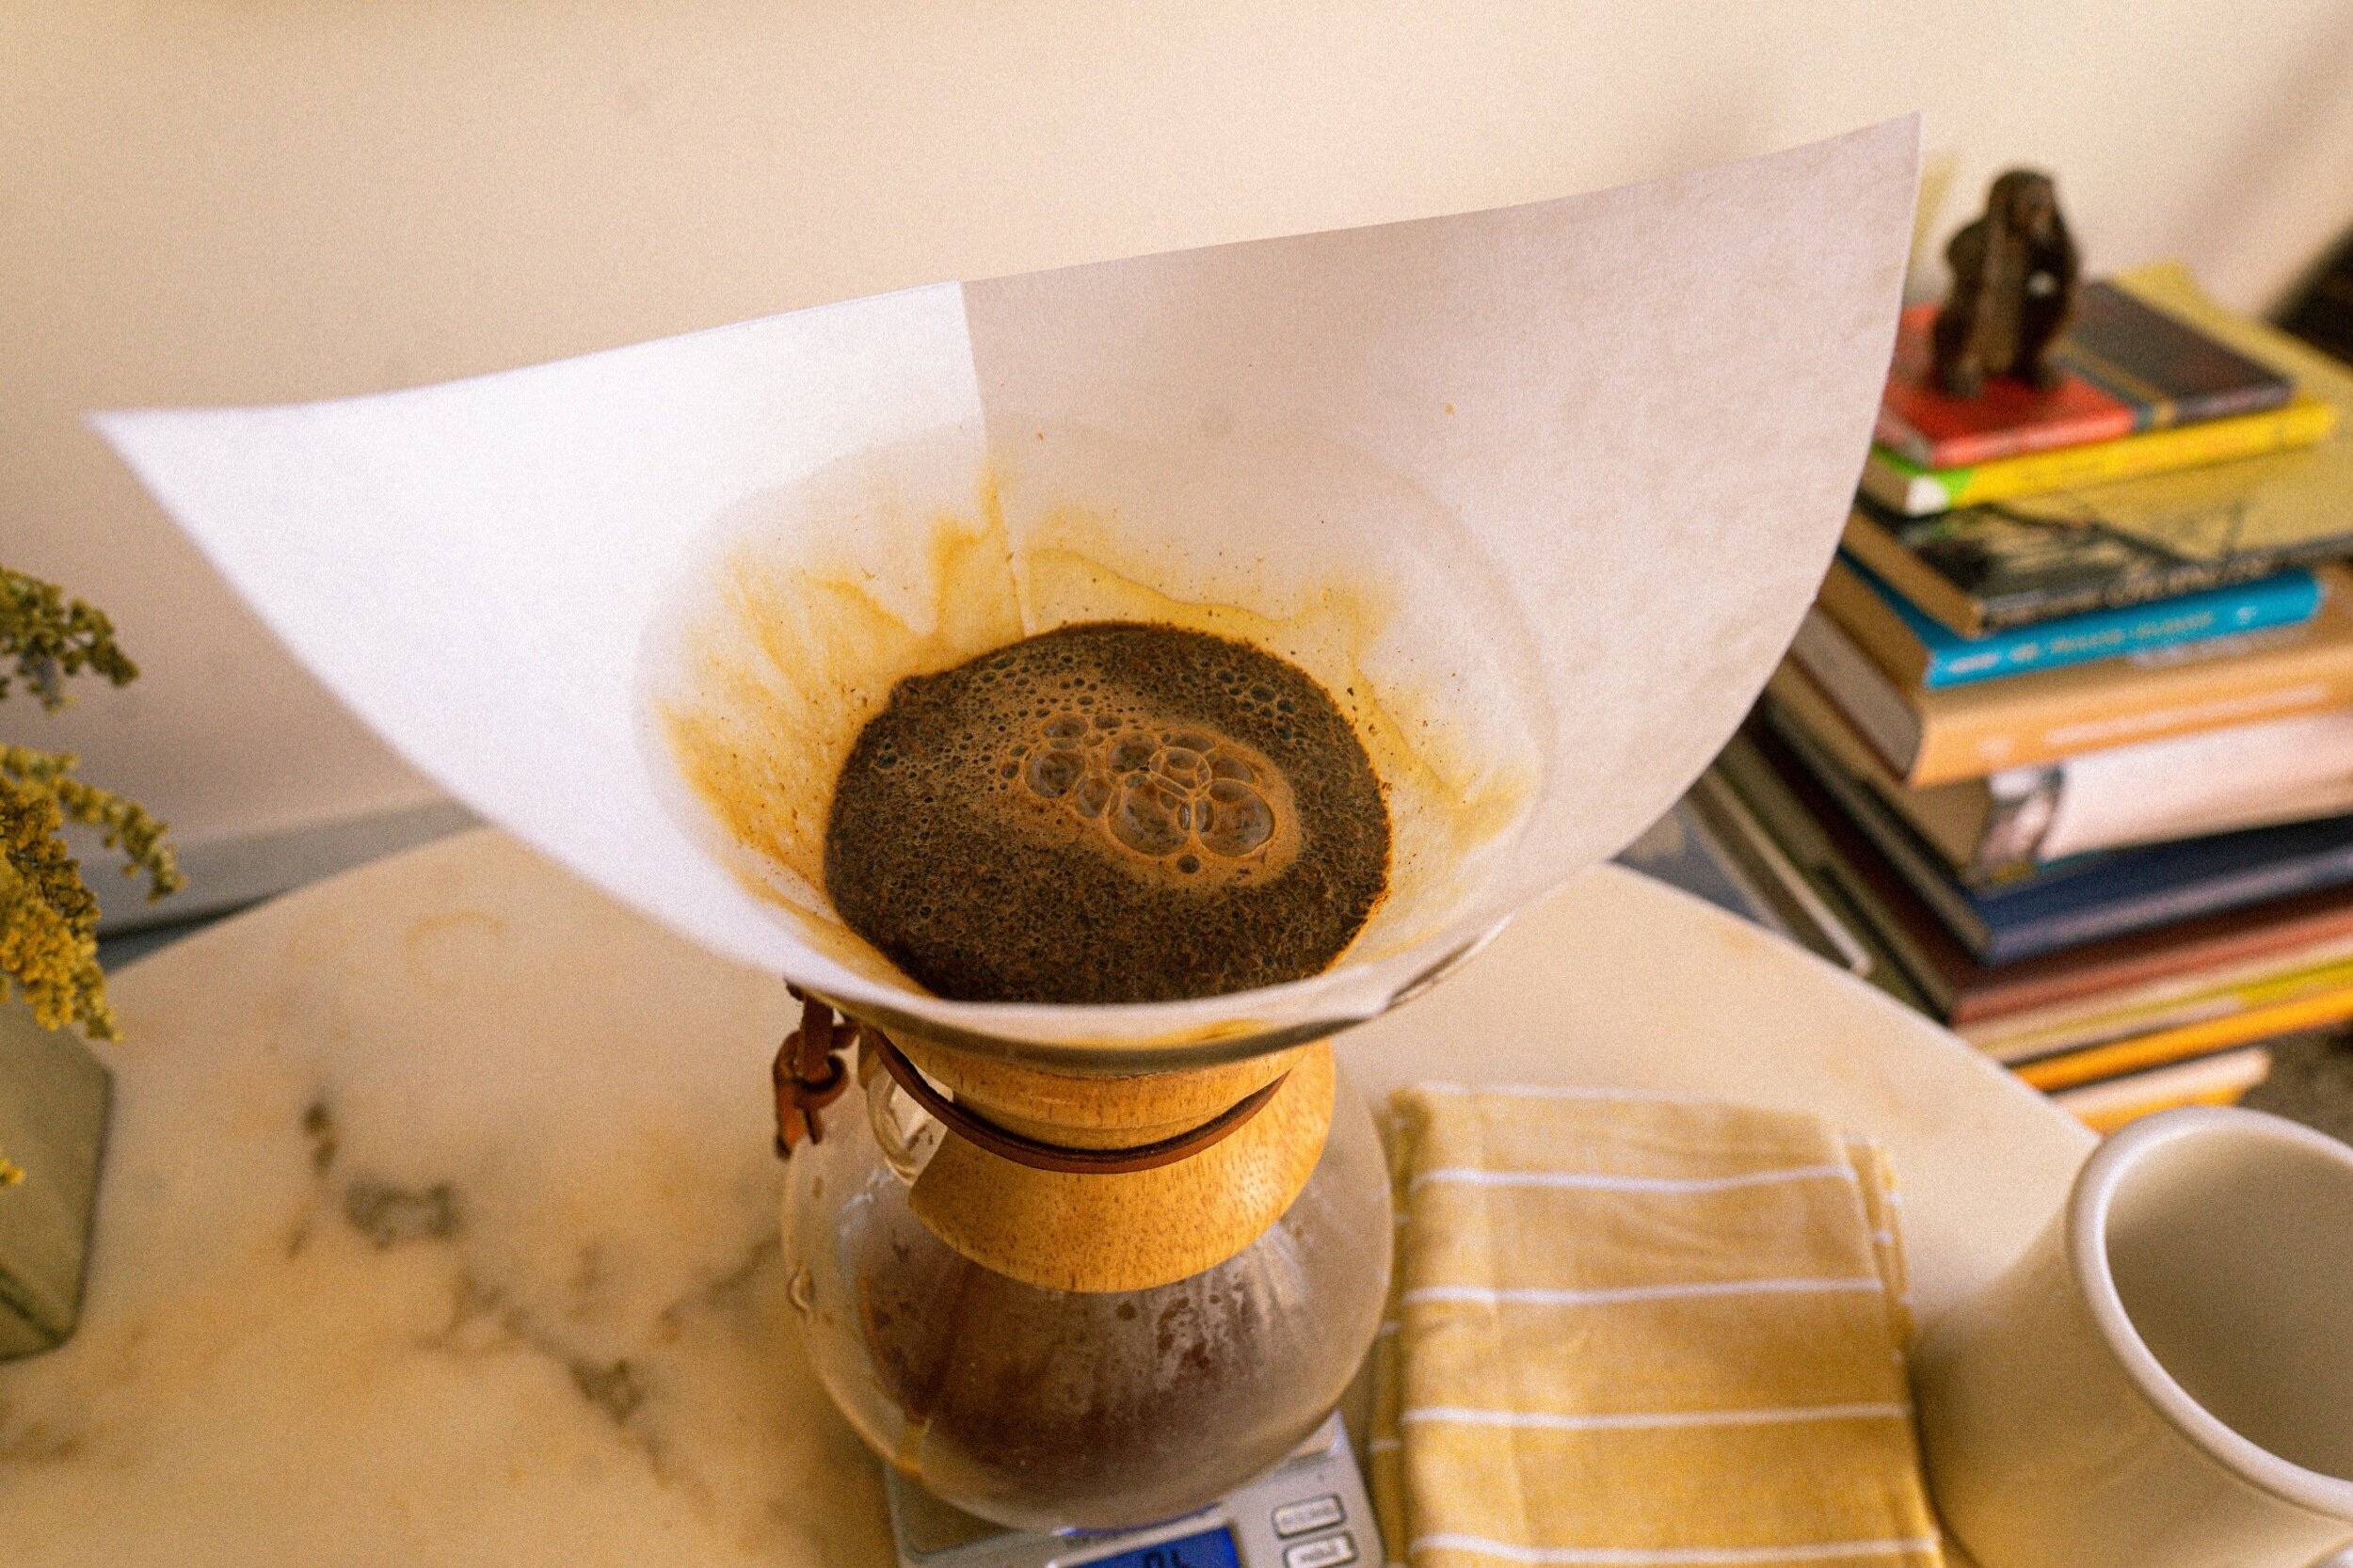
Once evenly soaked, allow coffee to sit and ‘bloom’ for ~15 seconds: With fresh coffee, you will see a mushroom-like growth: this is carbon dioxide and other gasses being released from the grounds.
Continue with a gentle, even pour, soaking the grounds in a spiral/circular motion. Pour for a few seconds, then allow it to drip for a few seconds, and then pour again.
Repeat the process of pour/drip until you reach the desired weight of water.
For 42g of coffee, pour 715g of water
For 21g of coffee, pour 355g of water
Once the desired weight is achieved, allow for all of the water to fully drip through, then discard the used filter and enjoy!
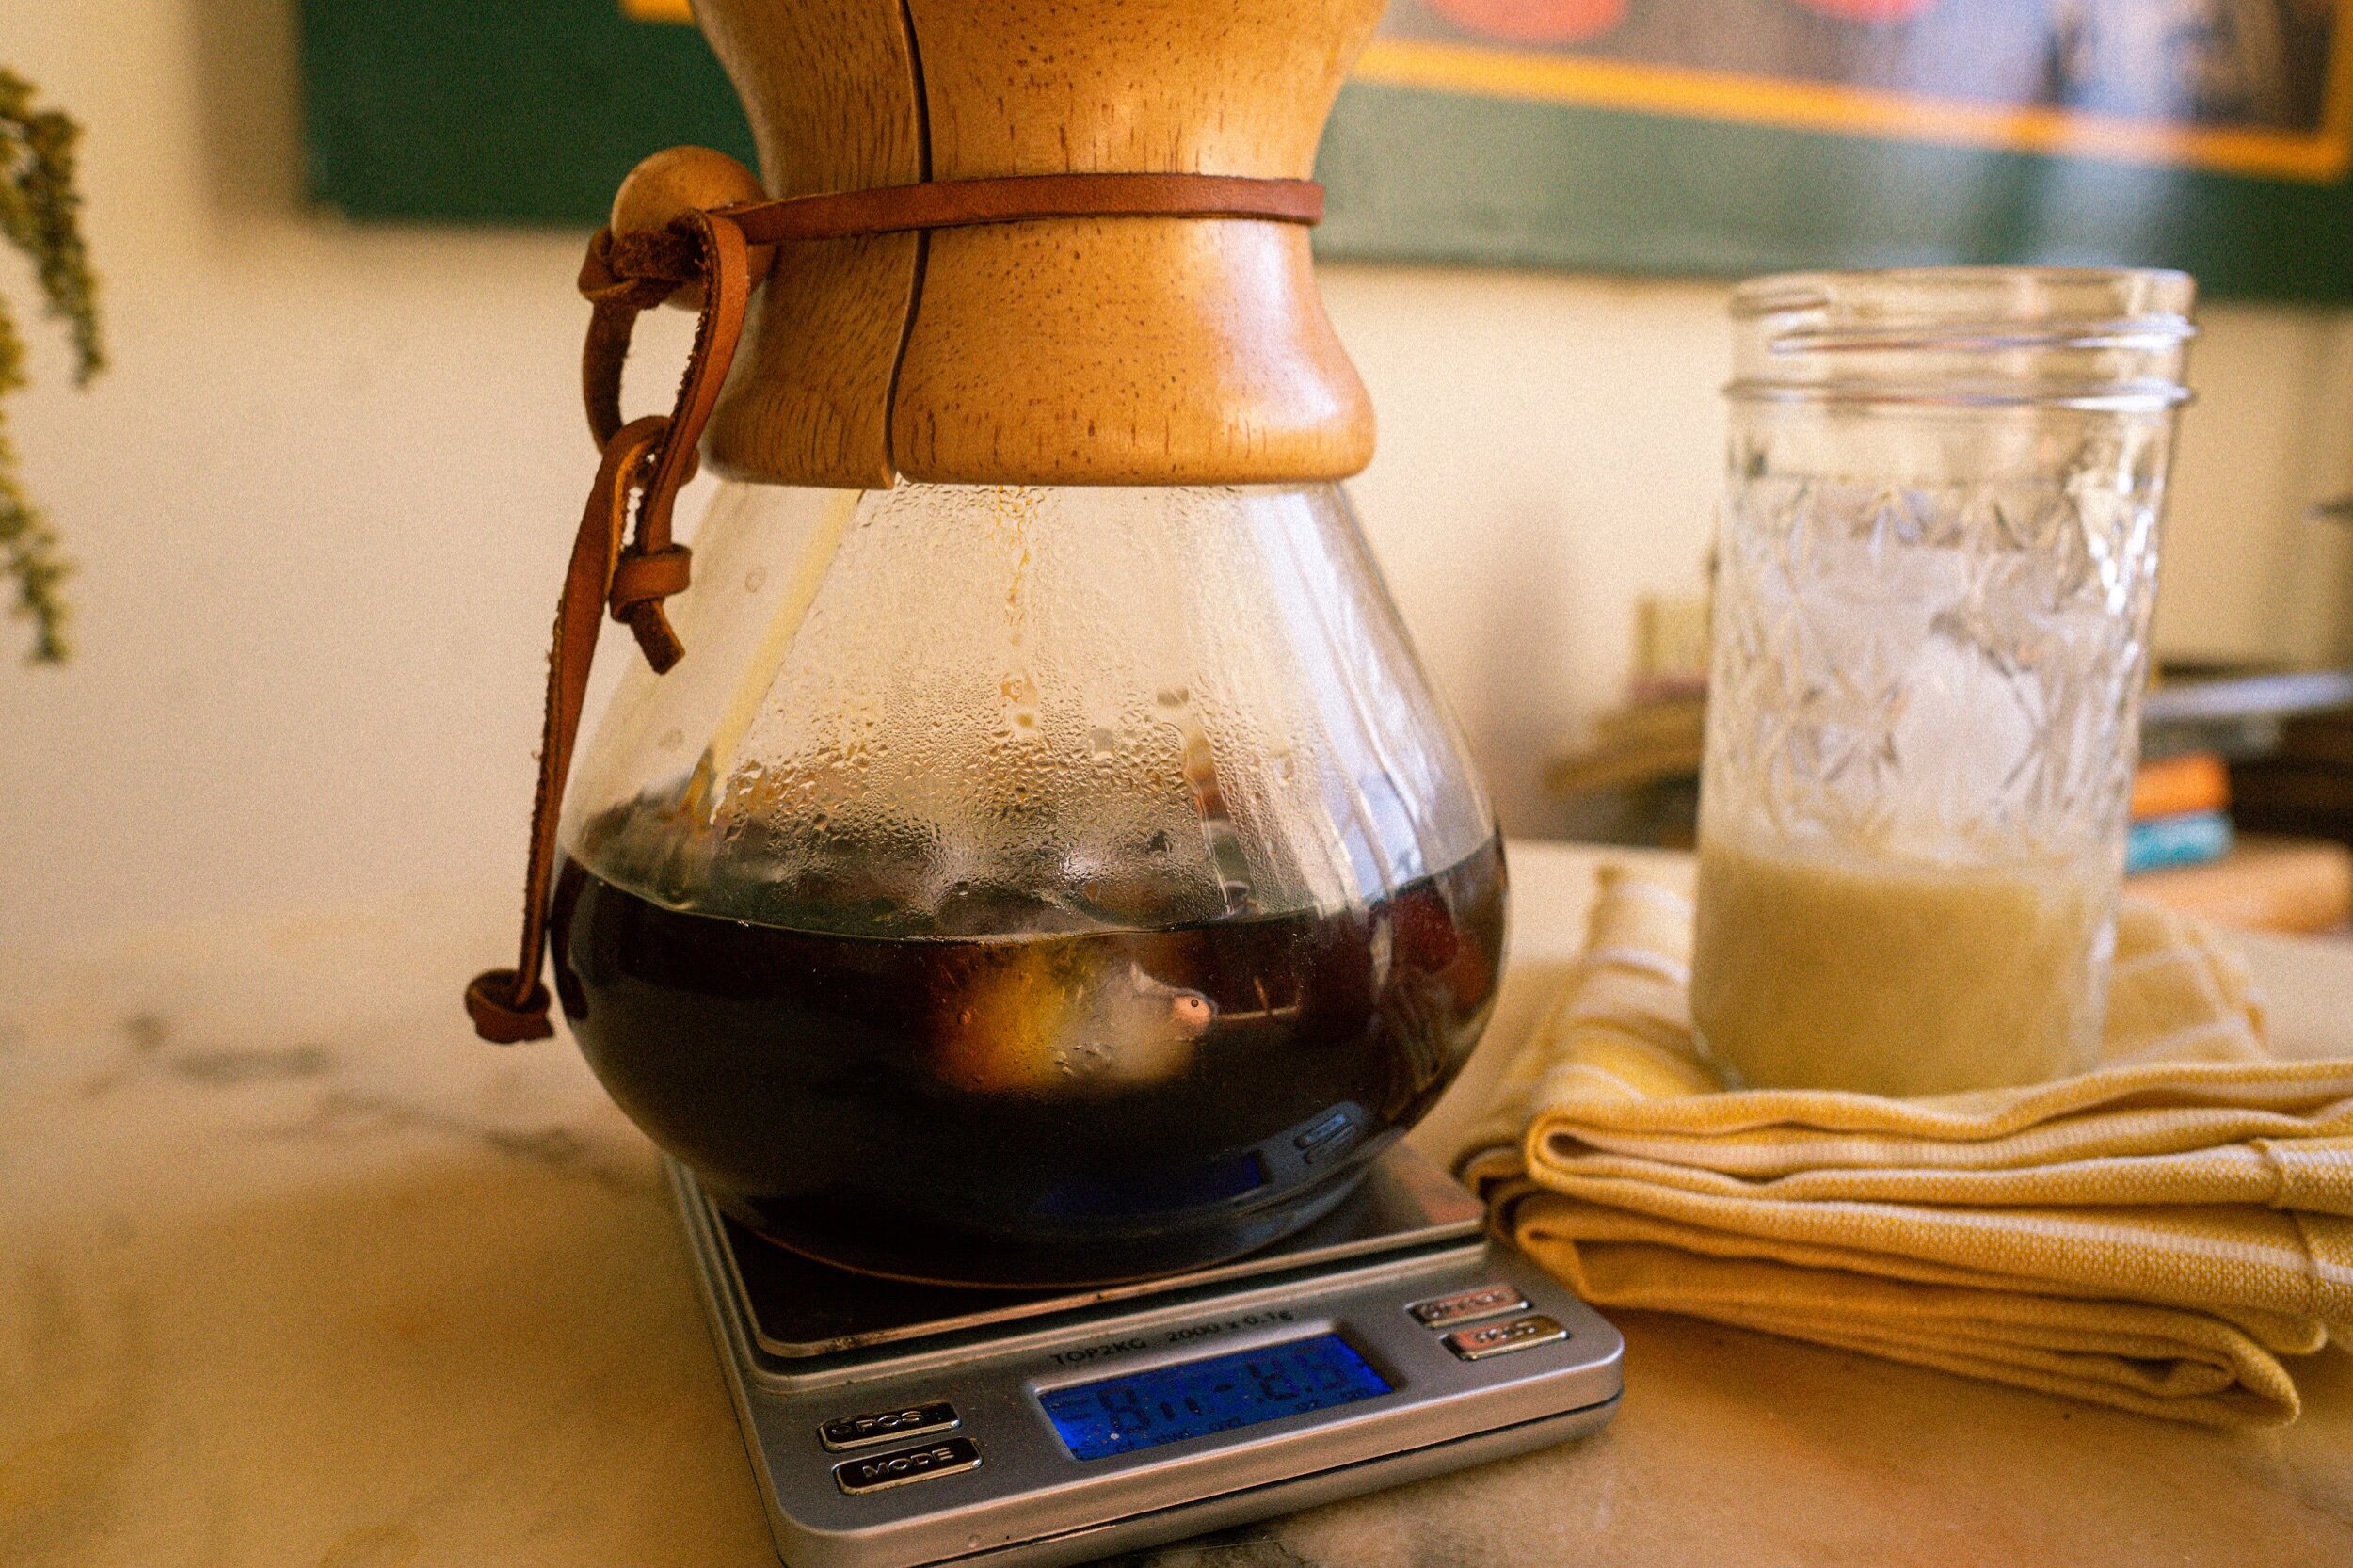
Iced-Chemex/ ”Japanese Style” Iced Coffee
Sometimes you’ve got to cool off, and iced coffee is a perfect way to perk up and cool off all at once. Brewing hot coffee and putting it in the fridge to cool off is lame, and while homemade cold brew makes a great cup of coffee...it would take 12+ hours to make. A happy medium is the iced-Chemex, which is an easy way to get that iced coffee fix within a few minutes without all of the bitterness and bite that comes with letting hot coffee slowly go cold in the fridge, and without the tedious process of straining and waiting out a batch of cold brew. There are only a few downsides to this method, the first being that this isn’t cold-brew, which means you still may have a little bitterness and bite left behind (but you can cut it with some sweet stuff, milk/dairy alternative, and/or flavorings). Secondly, it’s a Chemex and it’s still delicate, so be careful dropping ice cubes into it - don’t get too rowdy. This method mixes up a few of the steps, so pay close attention!

Materials
Chemex
Chemex Filters
Gooseneck Kettle
Coffee Grinder
Scale
Ice (crushed/cubed/etc.)
Process
Measure and/or grind 42g of coffee with a medium grind consistency. This will brew 2-4 cups depending on their size. If you’d like a smaller batch (1-2 cups), use 21g of coffee.
Measure 200g of ice, keep the ice cool. Don’t insult it. Use 100g ice for a small batch.
Bring a full kettle of water up to a boil, remove it from the heat and allow it to sit for about 30 seconds to cool to the proper temperature.
Pour a dash of hot water into the filter to pre-wet the filter, this will remove excess dust and help to reduce any unwanted flavors. Dump the water out of the Chemex.
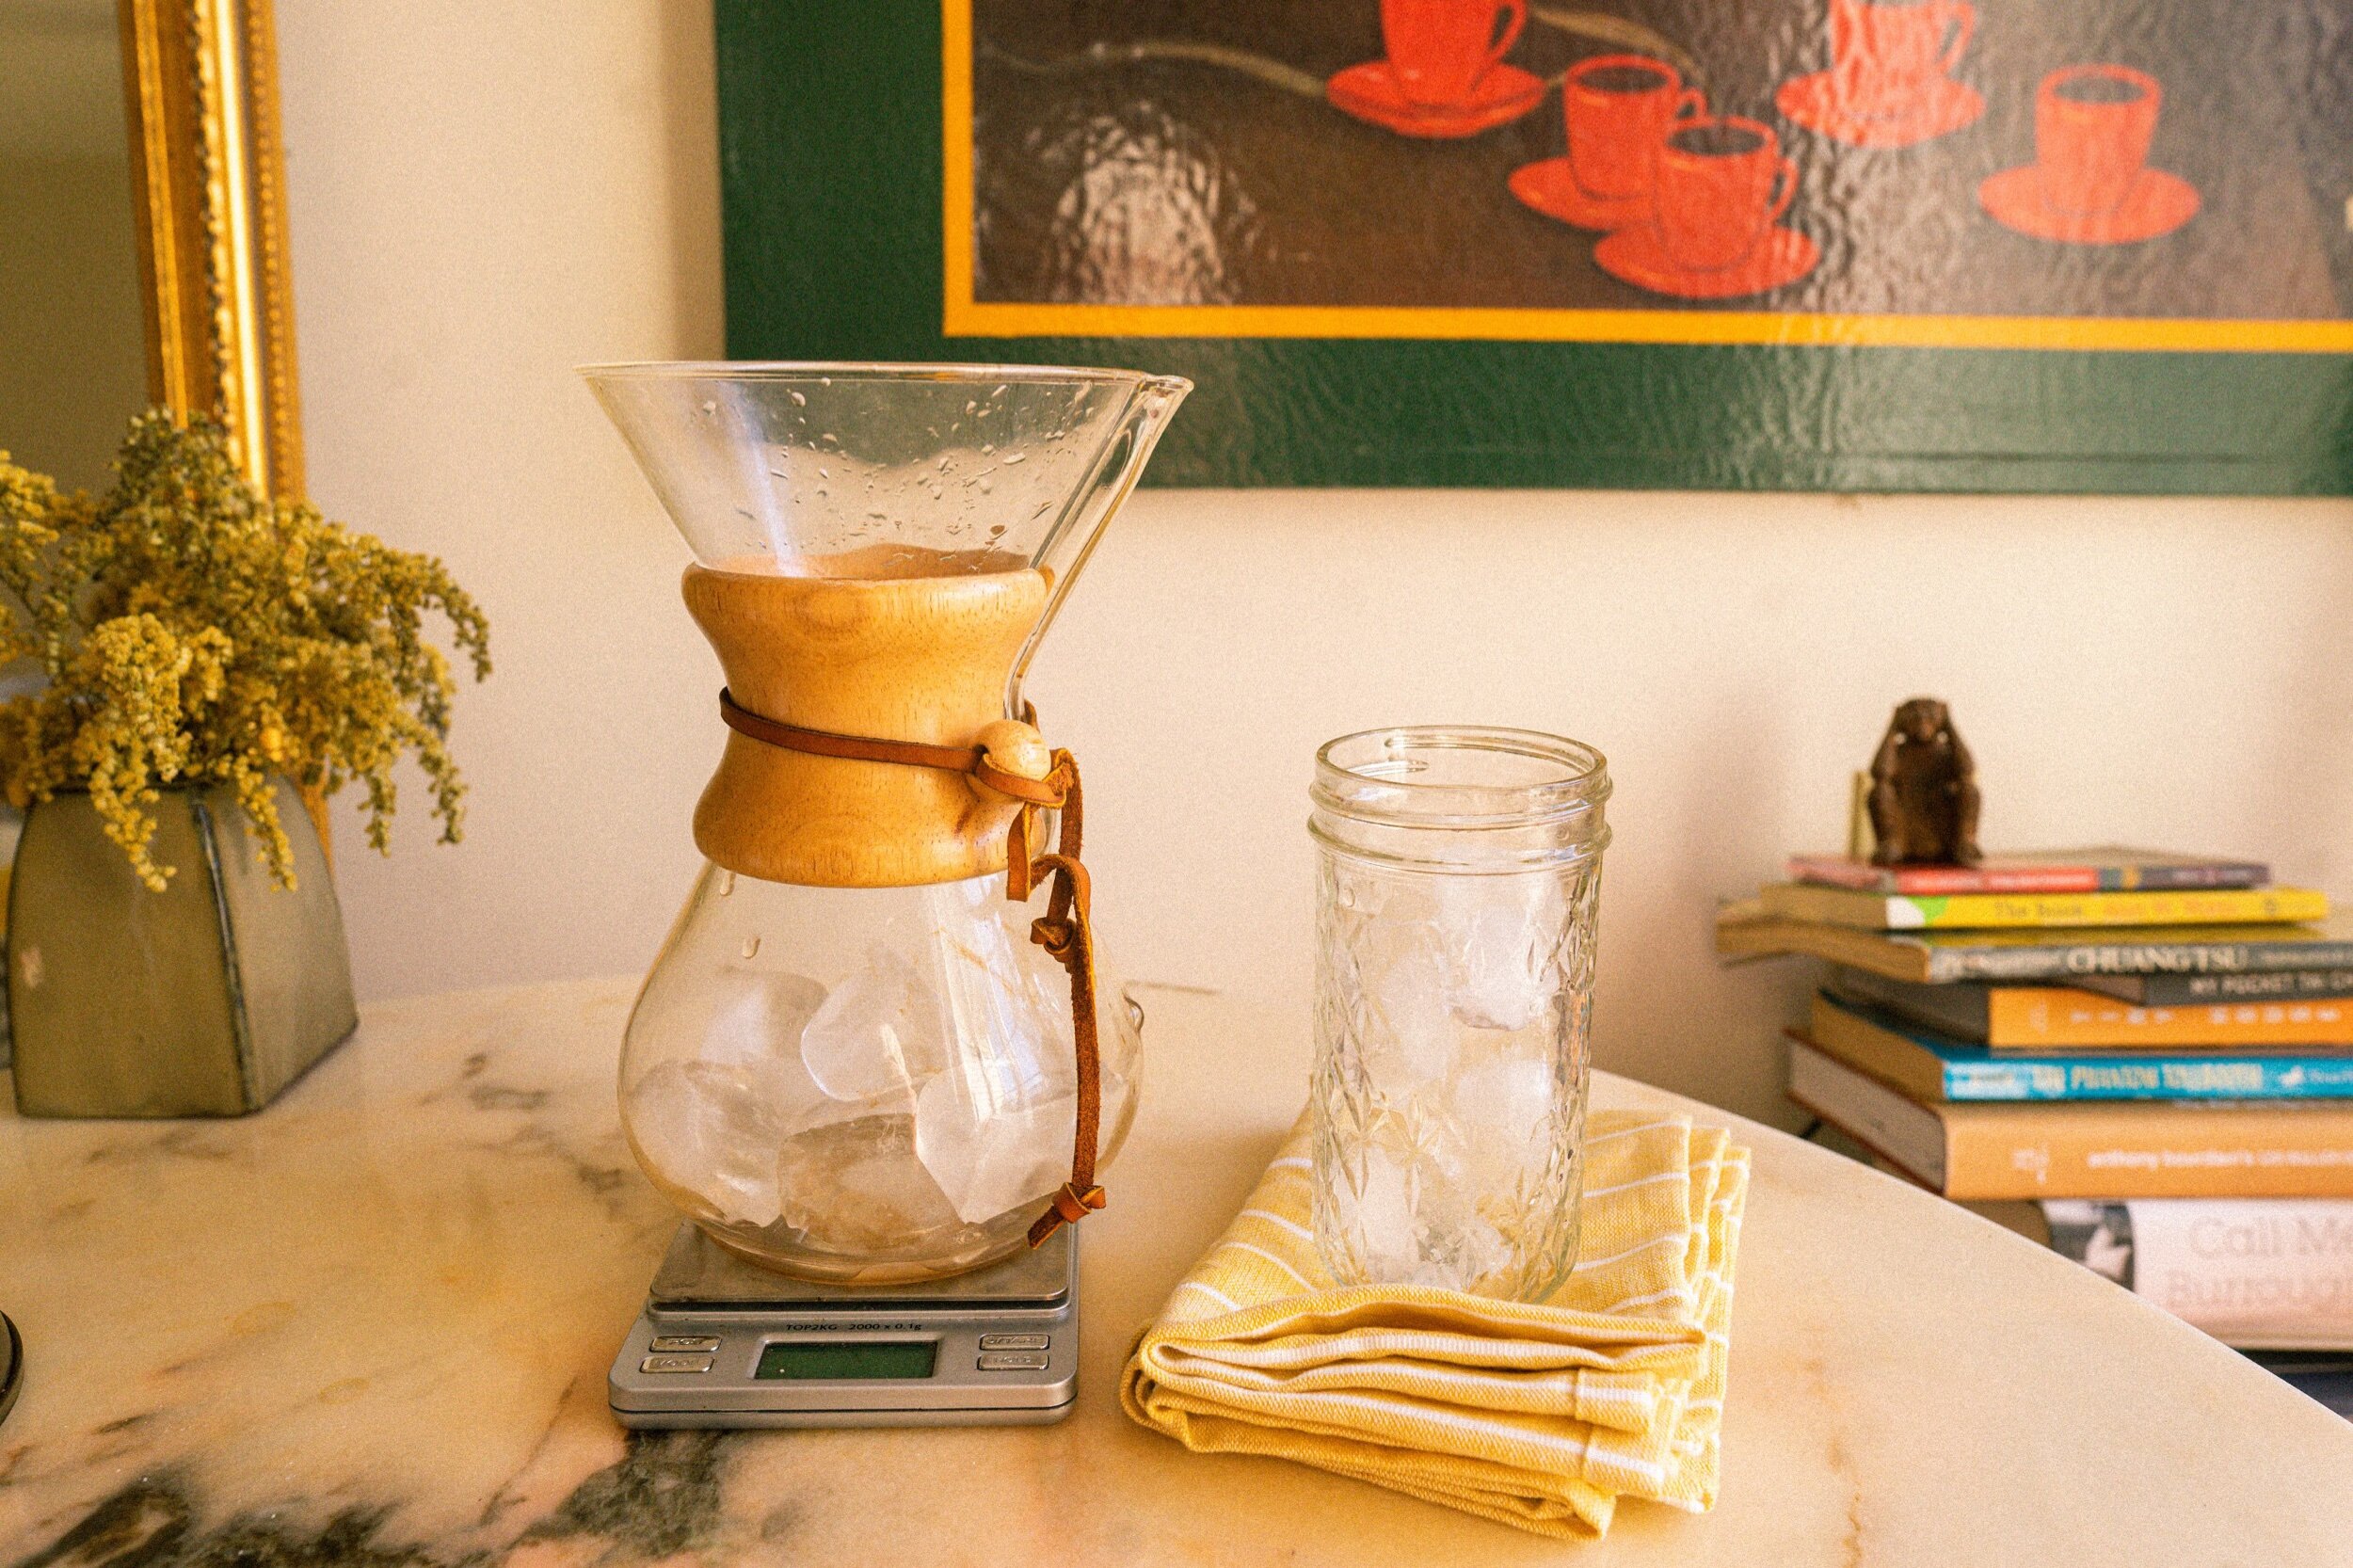
Take the filter out, and add 200g of ice into the bottom of Chemex (or 100g for a small batch). Put the filter back in place.
Place the coffee grounds into the filter, and shake them to create a reasonably level surface.
Place the Chemex on your scale, and zero the scale
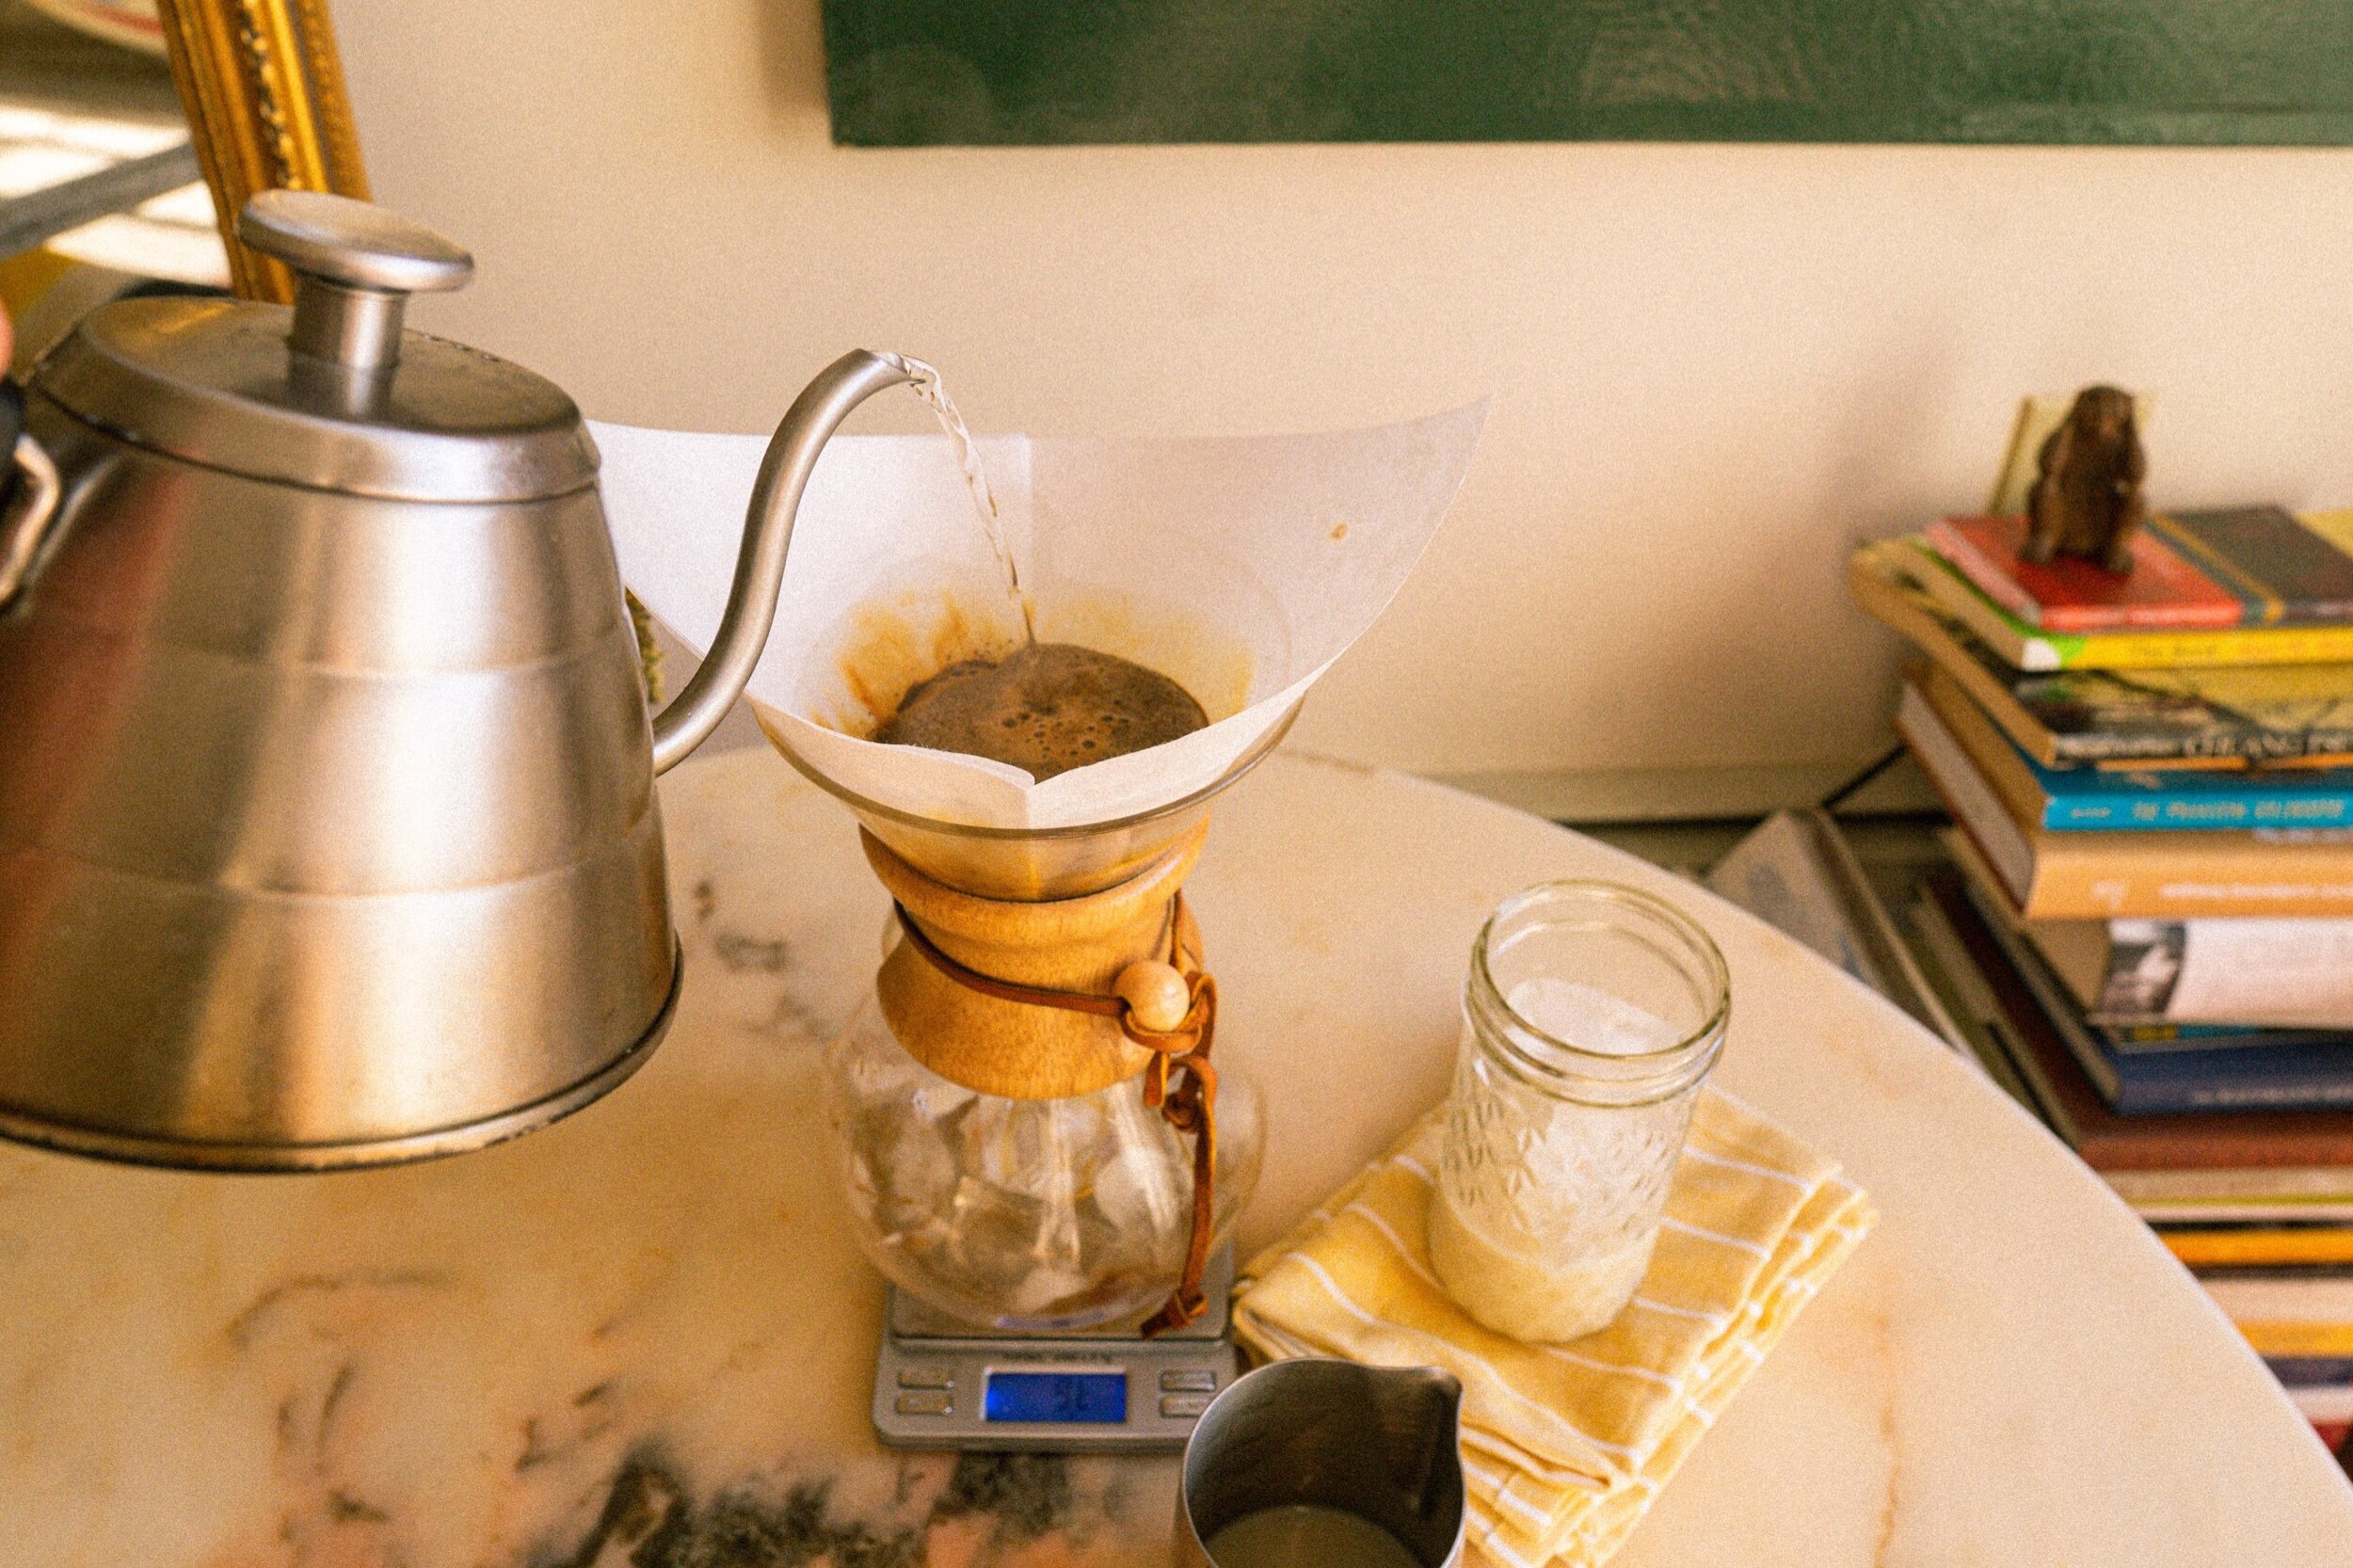
Begin gently-pouring the hot water over the grounds.
Start in the center, gently soaking all the grounds while avoiding the paper walls.
Once evenly soaked, allow coffee to sit and ‘bloom’ for ~15 seconds: With fresh coffee, you will see a mushroom-like growth: this is carbon dioxide and other gasses being released from the grounds.
Continue with a gentle, even pour, soaking the grounds in a spiral/circular motion. Pour for a few seconds, then allow it to drip for a few seconds, and then pour again.
Repeat the process of pour/drip until you reach the desired weight of water.
For 42g of coffee, pour 500g of water
For 21g of coffee, pour 250g of water
Once the desired weight is achieved, allow for all of the water to fully drip through, then discard the used filter.
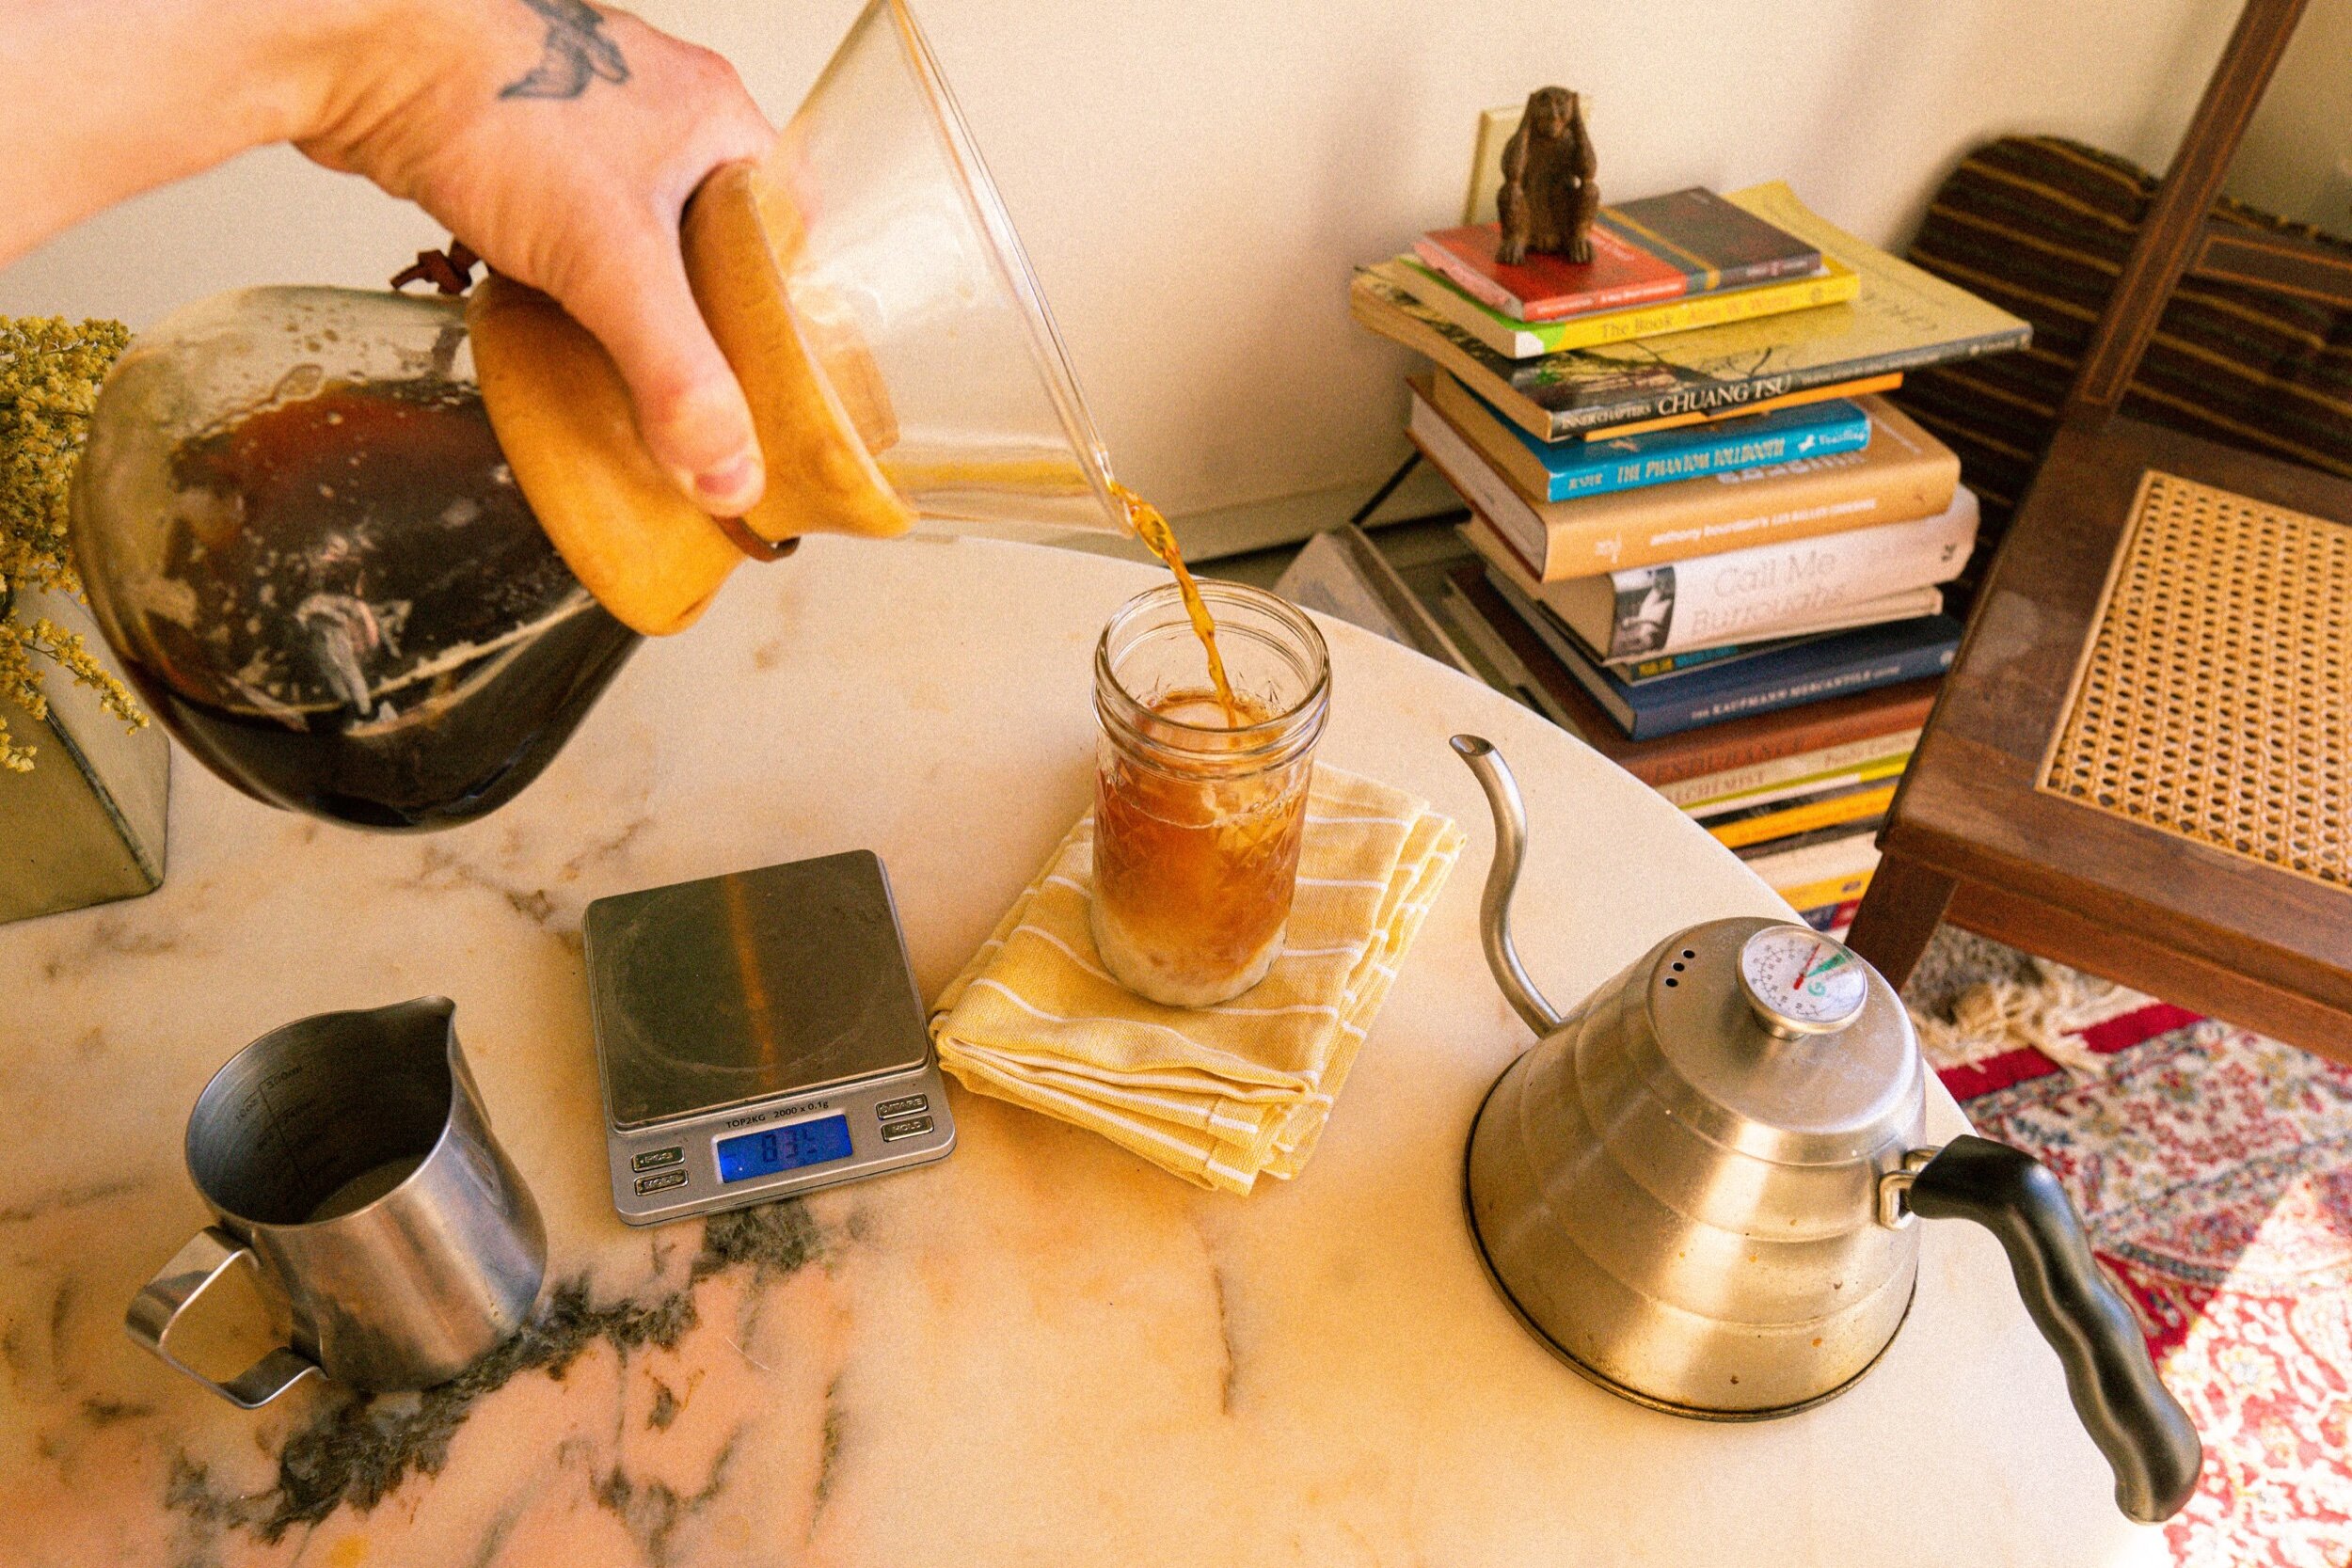
Swirl the coffee and ice a few times.
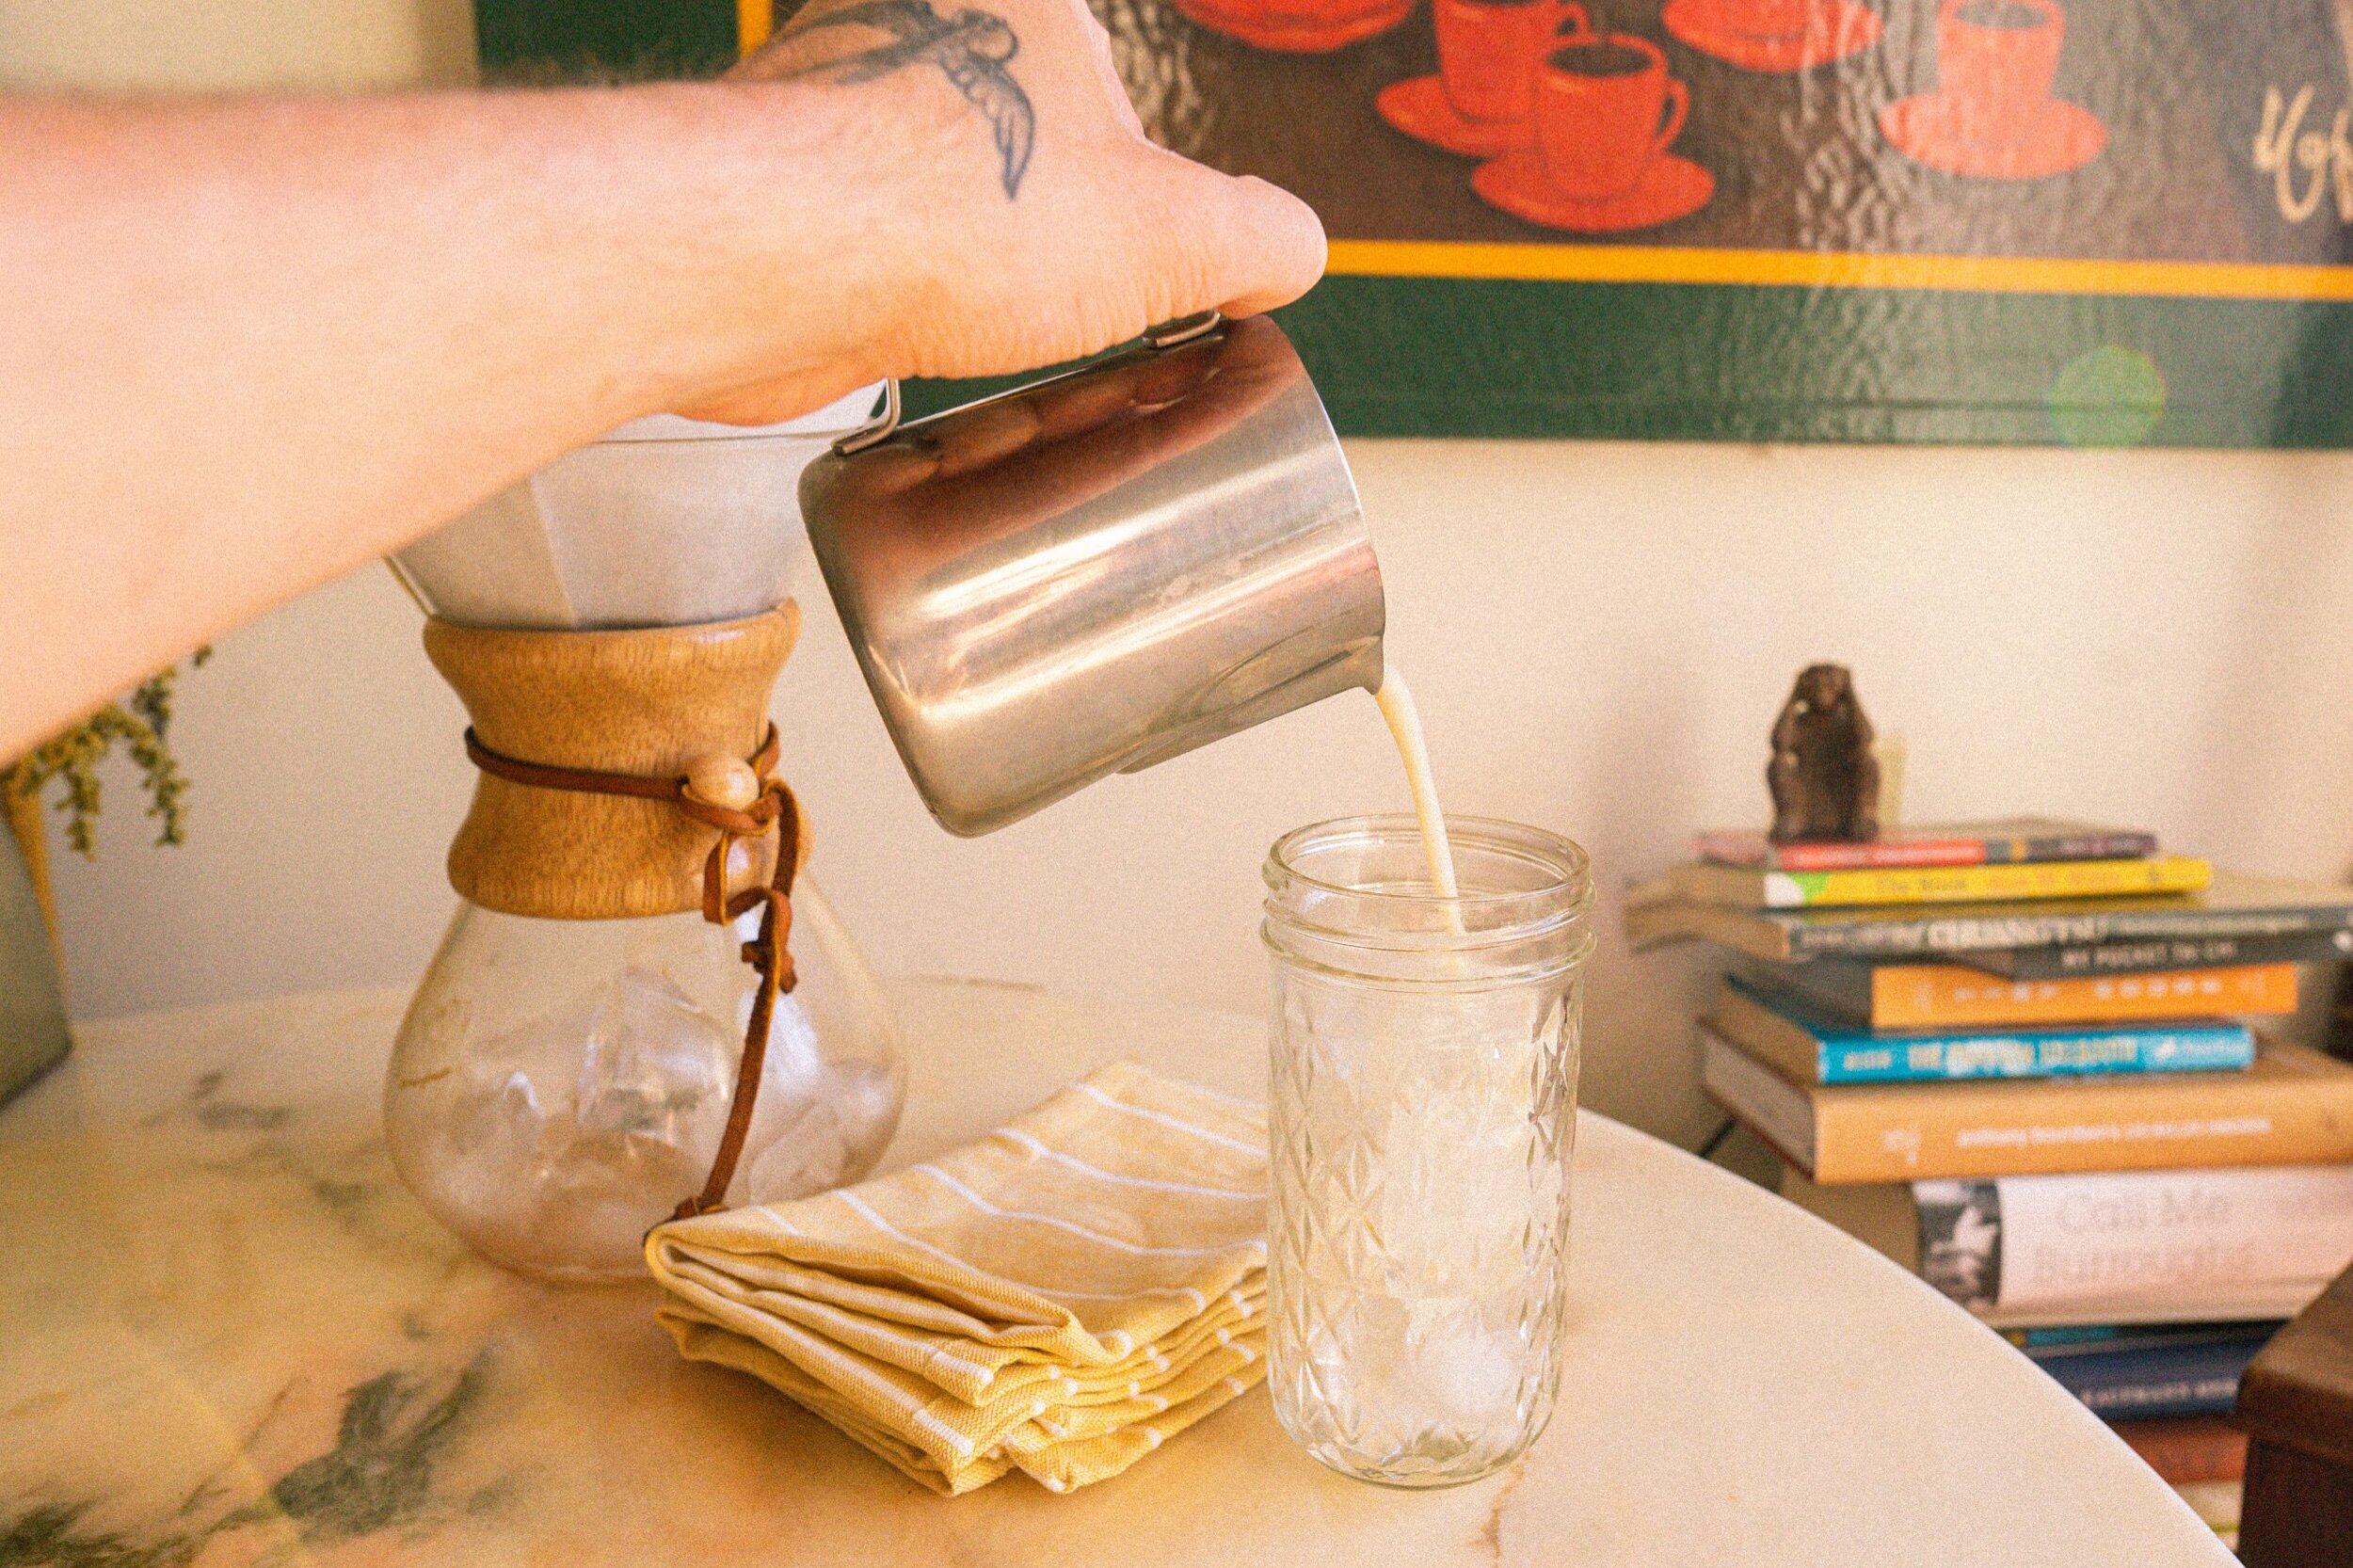
Fill a glass with ice, and pour the cold coffee into the glass, stirring in any additives such as cream, sugar, and/or flavor (pictured here is plain oat milk).
Enjoy!
Extra Notes.
All of these methods are fairly basic and easy-to-replicate at home. Experimentation is encouraged, if a cup is too strong or weak for your personal preferences, try different coffee-water ratios, such as a 1:16 or 1:18, or by slowing down your pour or speeding it up! Having the proper gear is important too, as certain brewers, kettles, grinders, etc. can all have an influence on your cup - use something that’s recommended by a barista, however, make sure it is something you can both afford, and something you feel comfortable with using. No need to break the bank, or break a piece of equipment you aren’t quite ready for yet.
A good cup of coffee isn’t necessarily based on hitting the perfect numbers in a recipe... It's starting with a high-quality coffee, and then learning a recipe that you can someday tweak to meet your own personal coffee preferences. It’s up to you to turn high-quality beans into a cup that reflects your own personal tastes - these methods are set up to be a flavorful and balanced starting point, and from there you may create something wonderful and inspired.
Don’t worry about dialing into all of those tasting notes, and don’t be discouraged if you don’t like a cup you made or feel it’s missing something. Coffee is an acquired taste and takes time to feel out, even good coffee. Don’t feel overwhelmed by all of the information about the origin, roast levels, processes, etc. that you read on your bag of coffee. To start, just find something you enjoy. Coffee experience and knowledge come with time, practice, and most importantly of all, failure. We live in an amazing time where there is an abundance of free and easily accessible information from coffee experts around the world - be curious. If you don’t understand or don’t know what something is - ask a barista or read about it online. And once again, don’t be afraid to just flat out fail. Make some gross cups. Your best cups will come as a result of learning from your worst cups.
Lastly, everyone is still learning. Even the best people in the coffee world are still experimenting with their brewing methods. In Buddhism/Dharma, there is a popular saying that one who claims they are enlightened, is not enlightened. It’s this way in coffee as well. We are all students. If there was truly such a thing as the end-all-be-all, “perfect cup” made by coffee masters of the universe, there would be absolutely no point in making great coffee. To make coffee is to play. Keep playing, and since you will now be perpetually-caffeinated, use that energy and creativity to work at your own art of brewing.
If you want more info or have any questions, contact maxablicki@gmail.com.